Set up docs MCP
ClickHouse Cloud now offers ClickPipes to migrate your external PostgreSQL database into a Managed Postgres service. This built-in integration provides a streamlined experience to connect to your source database, export the schema, import it into Managed Postgres, and set up continuous replication.
Prerequisites
- Access to your source PostgreSQL database with a user that has replication privileges. Follow the setup guide for your source:
- Amazon RDS Postgres
- Amazon Aurora Postgres
- Supabase Postgres
- Google Cloud SQL Postgres
- Azure Flexible Server for Postgres
- Neon Postgres
- Crunchy Bridge Postgres
- TimescaleDB
- Generic Postgres Source for any other provider or self-hosted instance
- A ClickHouse Managed Postgres service as the migration target. If you don’t have one yet, see the quickstart.
pg_dumpandpsqlinstalled on your local machine. Both ship with the standard PostgreSQL client tools.
Considerations before migrating
- DDL propagation: continuous replication (CDC) captures DML operations and
ADD COLUMN. Other DDL changes such asDROP COLUMNandALTER COLUMNaren’t propagated and must be applied manually on the target.
Step 1: Connect to your source database
Open the ClickHouse Cloud console and select your Managed Postgres service.
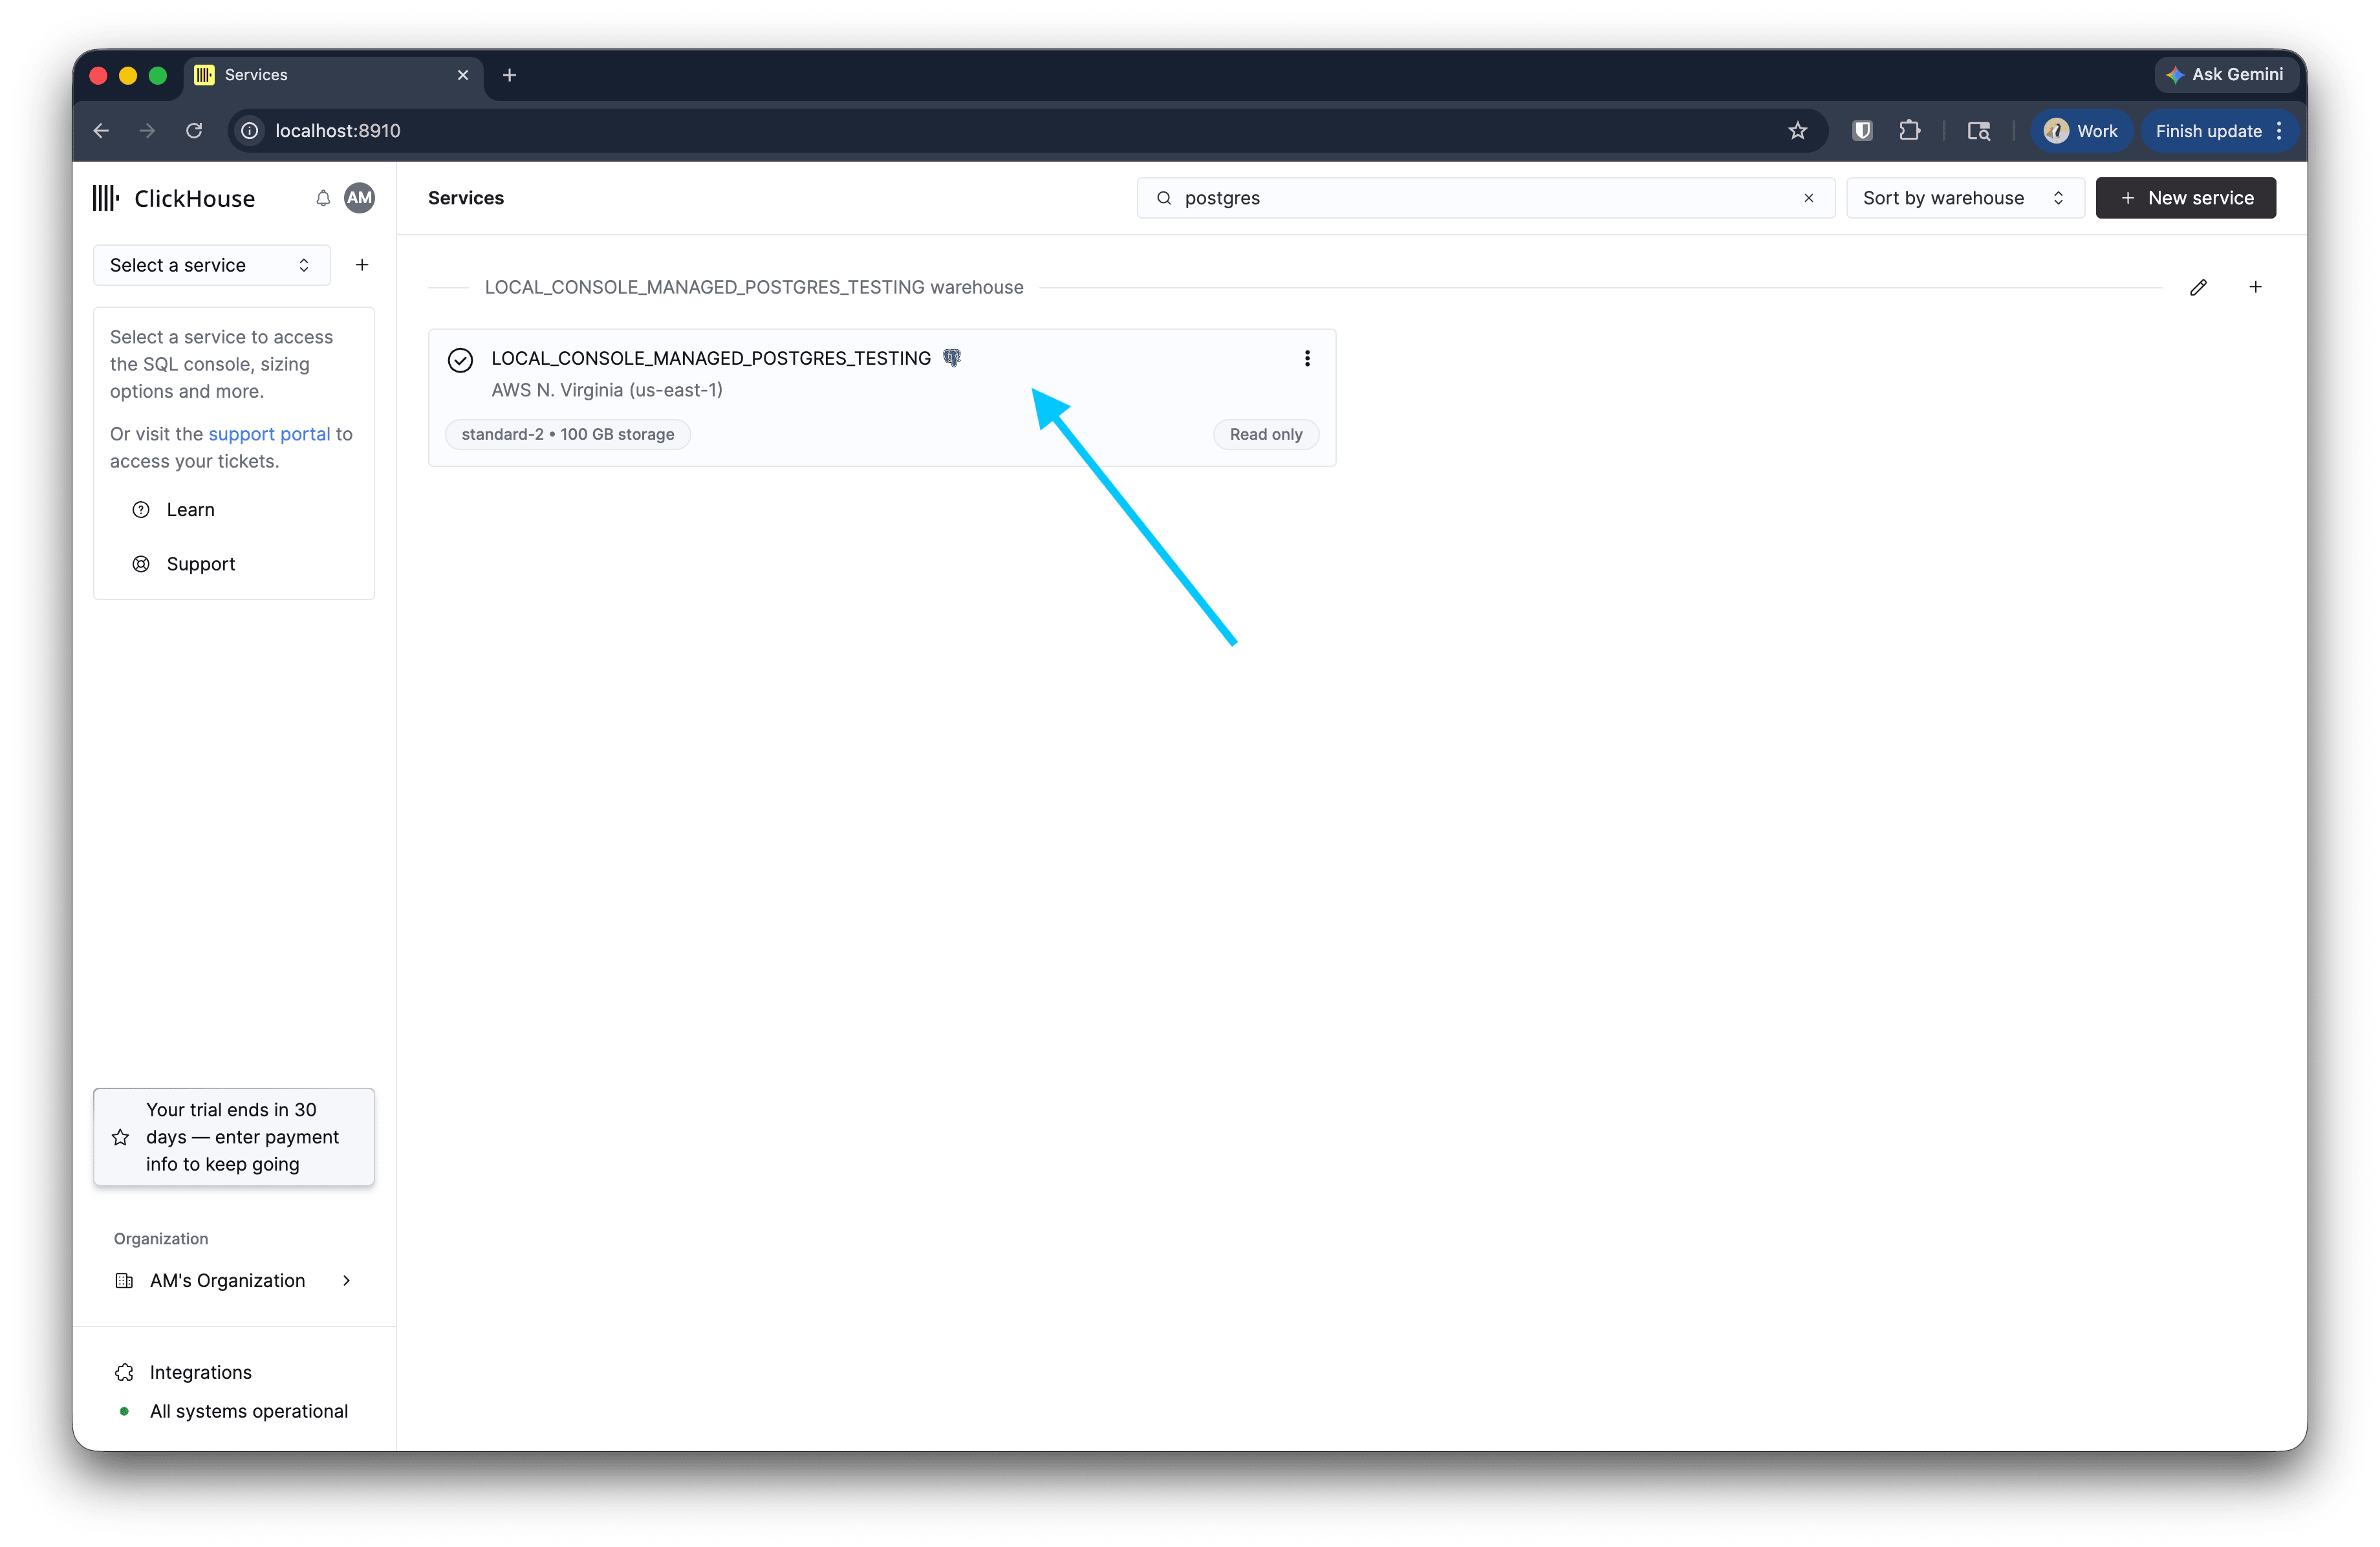
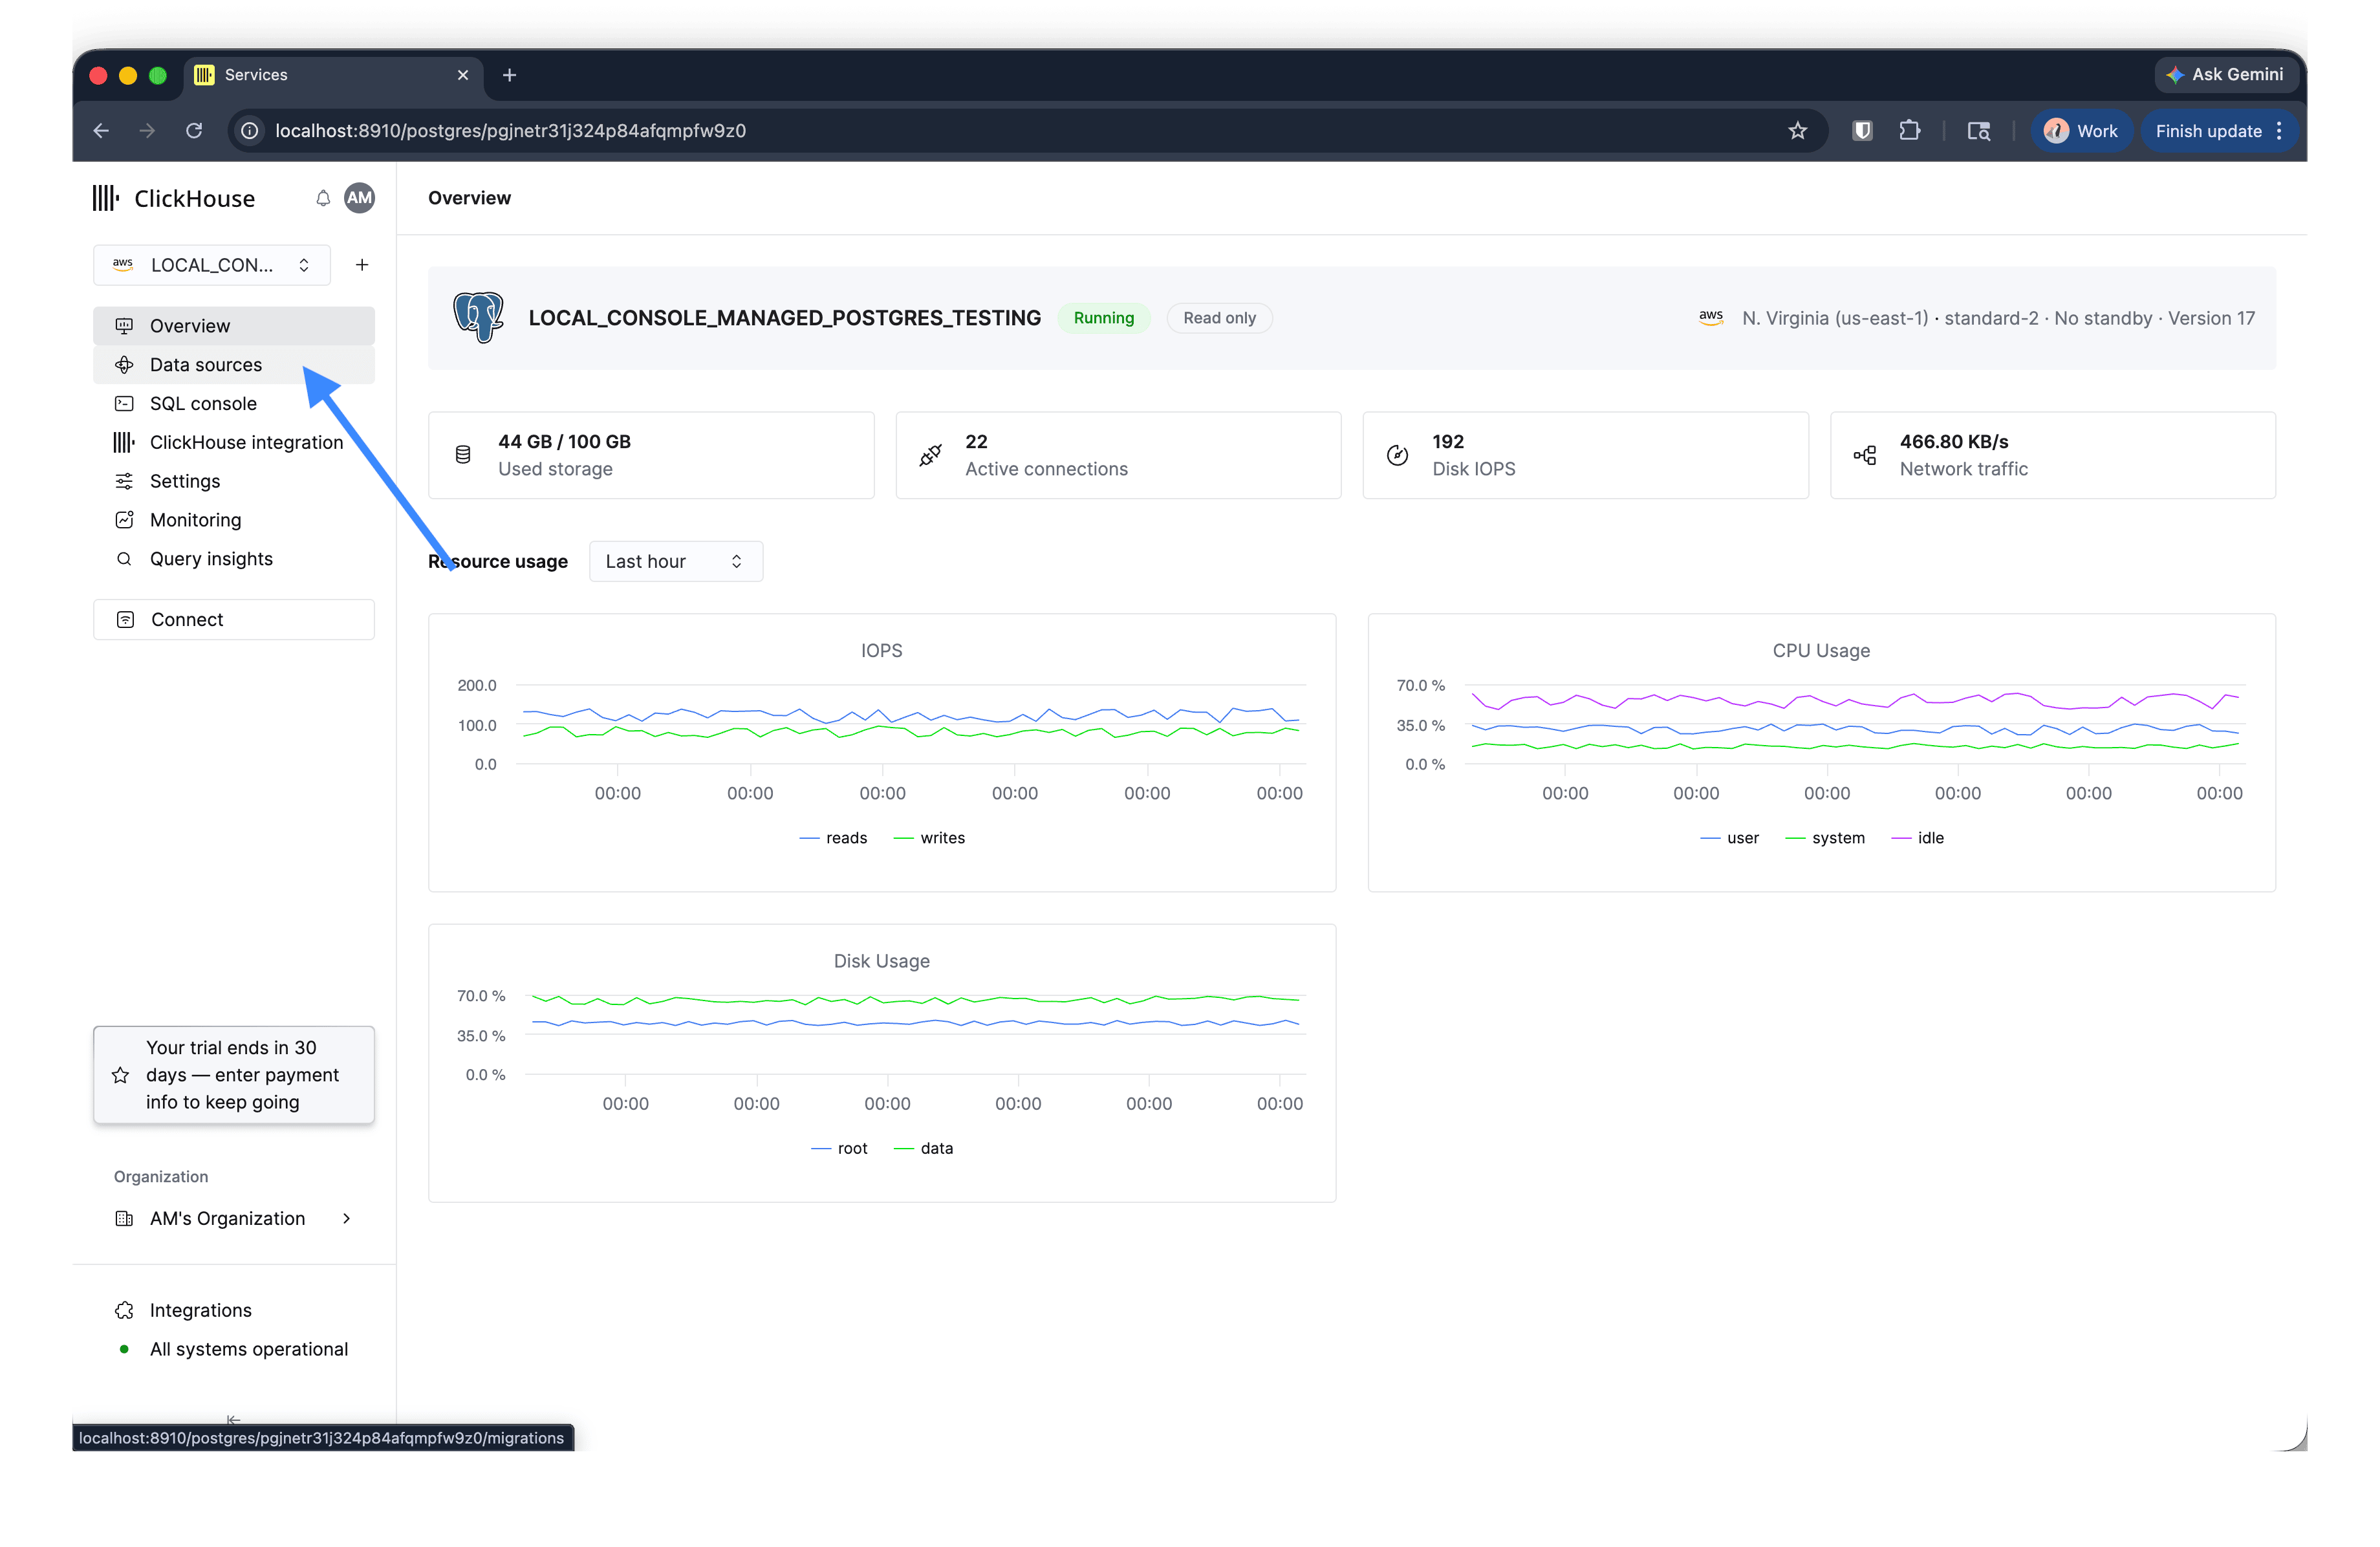
In the left sidebar, click Data sources.
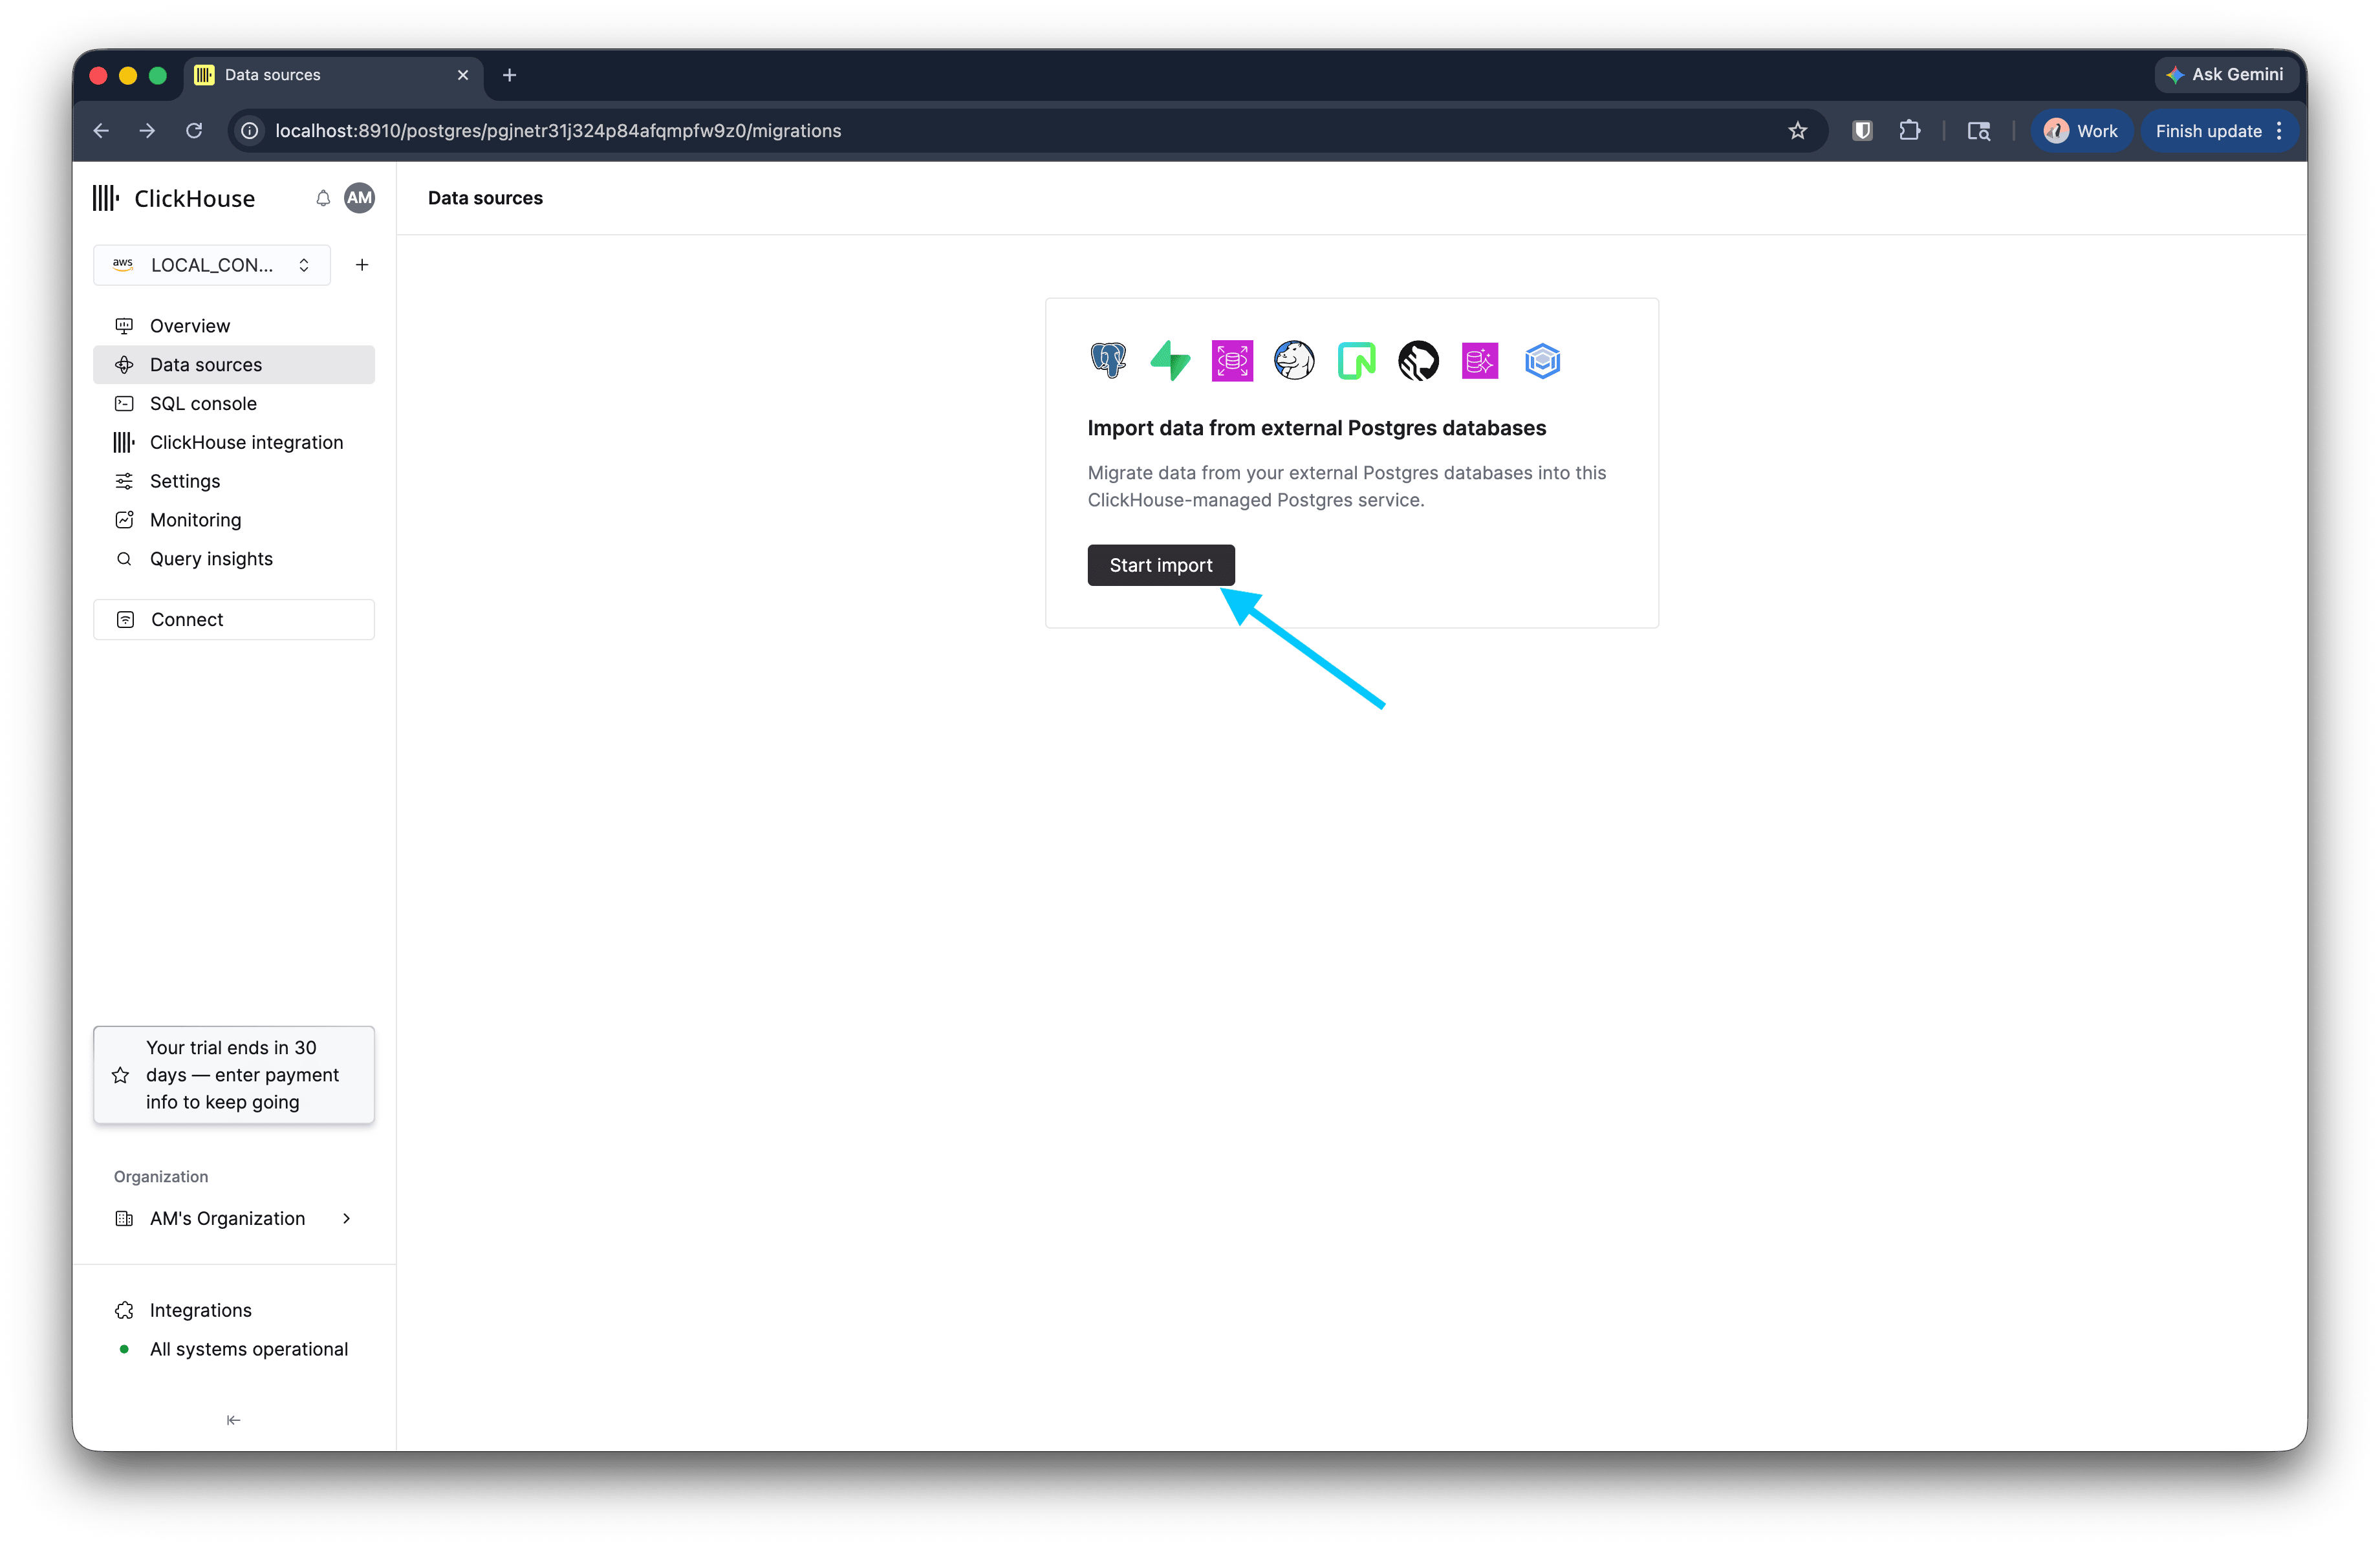
Click Start import.
Fill in the connection details for your source PostgreSQL database: host, port, username, password, and database name. Enable TLS if your source requires it.
If you require a private connection to your source database, you can opt for SSH tunneling and provide the necessary SSH details. This allows the migration to securely connect to databases that aren’t publicly accessible.
Choose an ingestion method:
- Initial load + CDC — copies existing data, then keeps the target in sync with ongoing changes.
- Initial load only — one-time copy, no ongoing replication.
- CDC only — skips the initial copy and replicates only new changes from this point forward.
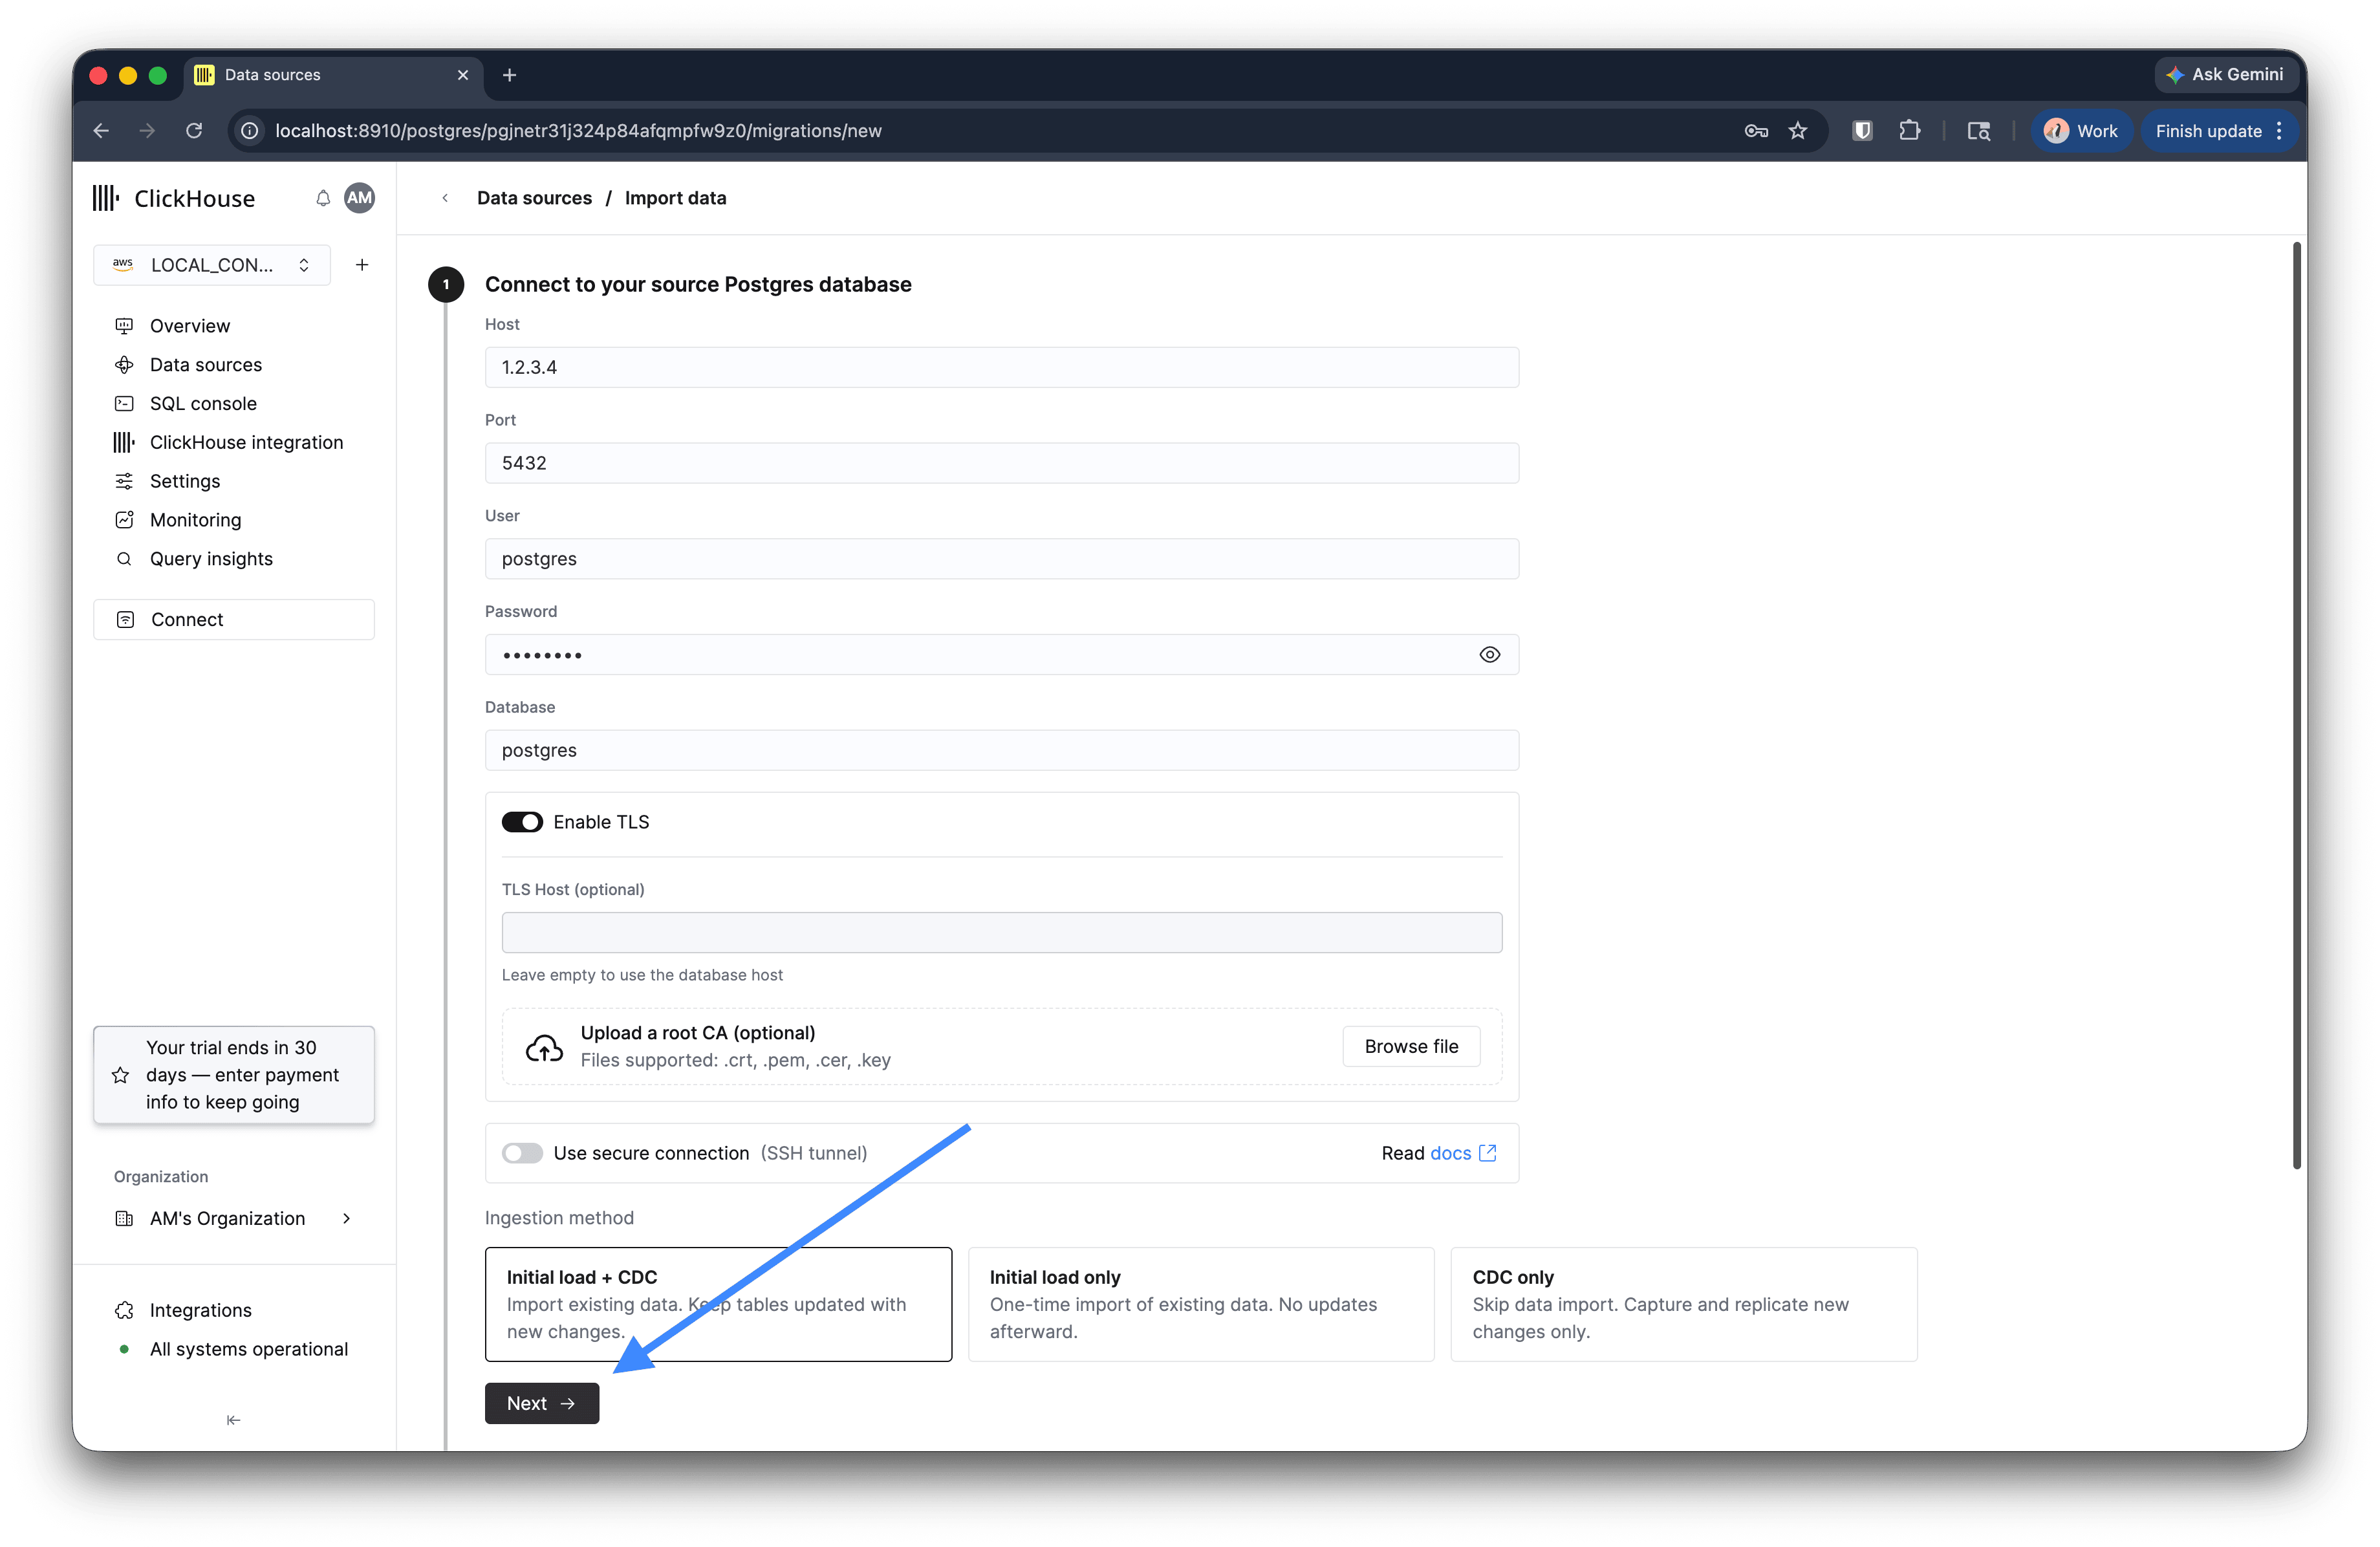
Click Next.
Automated schema migration
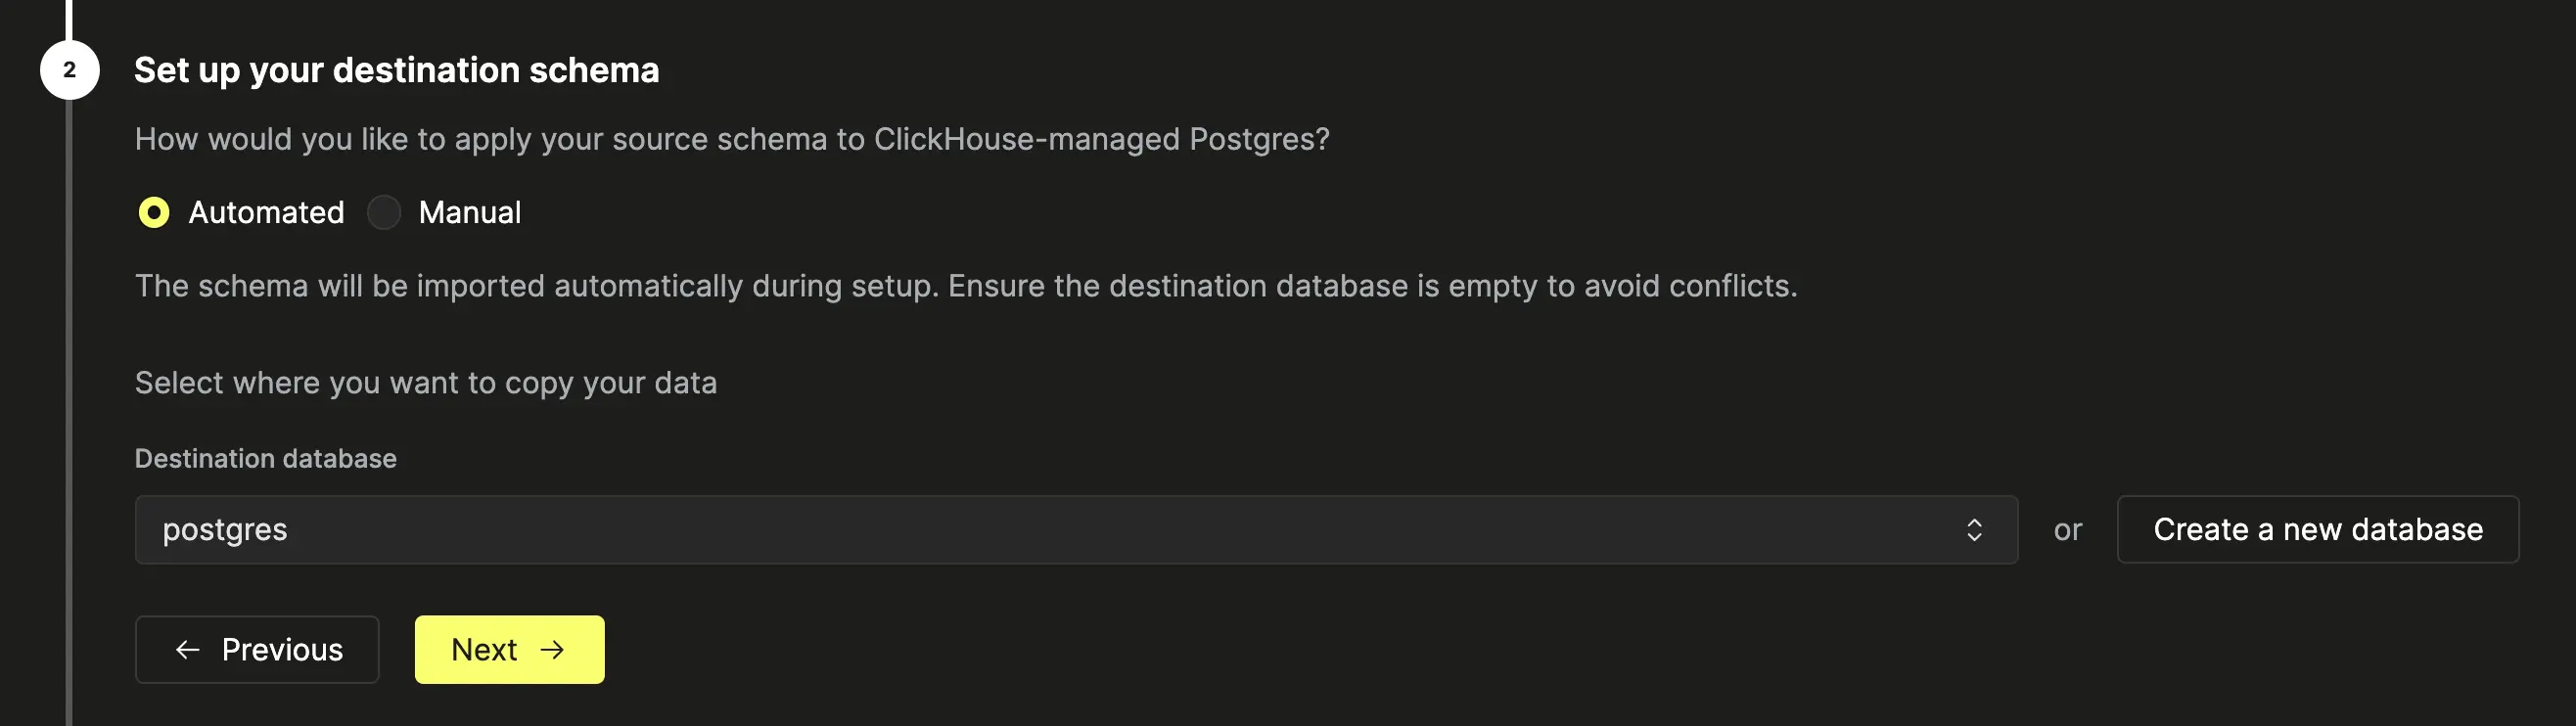
When this option is opted for, the ClickPipe will automatically pull the schema of your source database and apply it to your Managed Postgres service, during the Setup phase of the ClickPipe after it is created.
This feature assumes an empty target database, as it pulls every database object from the source database regardless of what tables you select later in the wizard. If you already have existing data in your target database, or are aiming for a more customized setup, you must opt for the Manual mode instead.
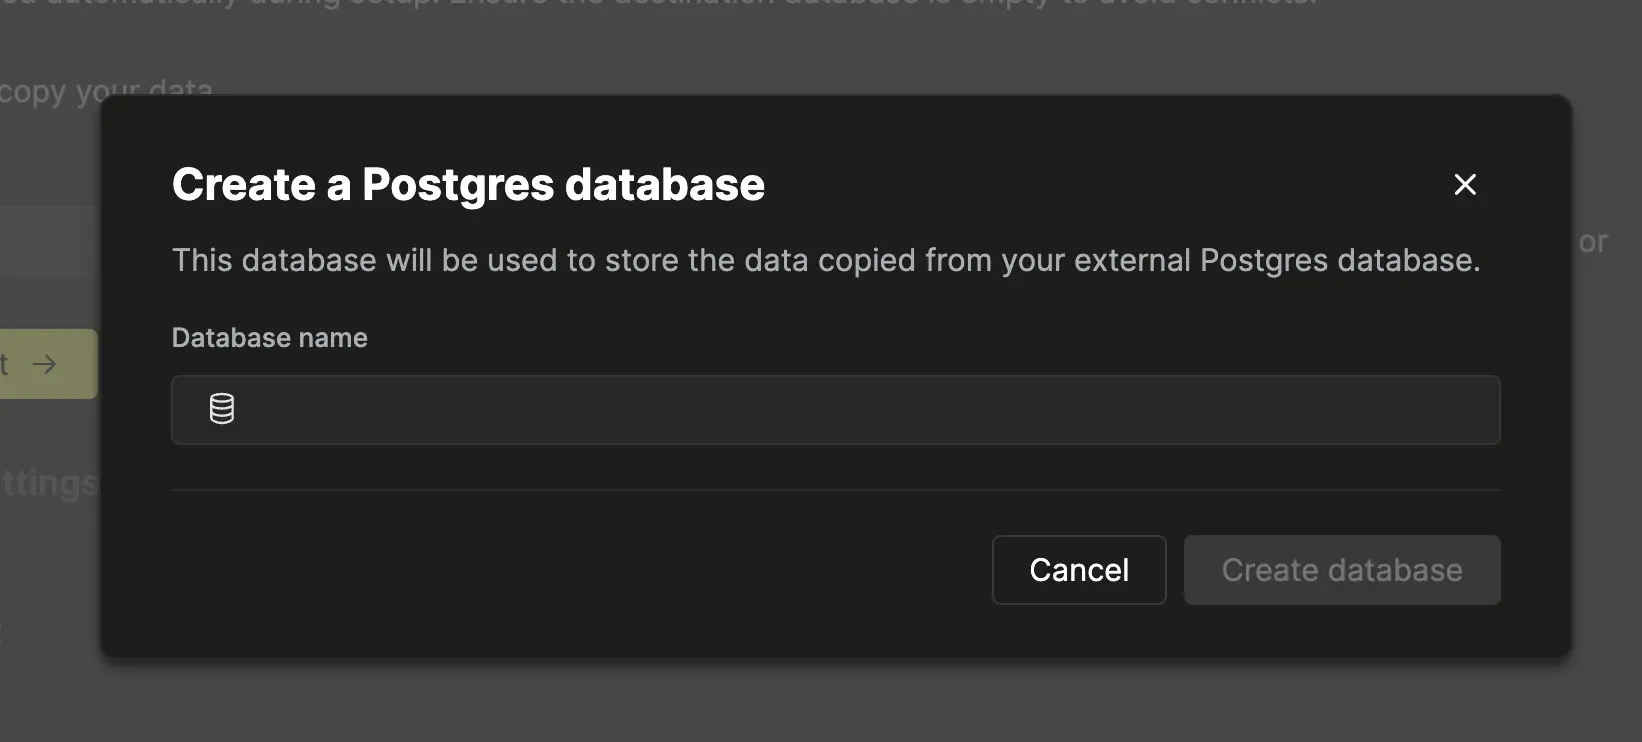
Select the destination database from the dropdown, or click Create a new database to provision one.
Monitoring
You can track the progress of the schema migration in the ClickPipes detail view. The Logs will indicate the status of the schema migration, and any errors encountered will be displayed there as well.
This mode has the following limitations:
- Pipes using SSH tunneling cannot use automated schema migration. The schema must be exported and imported manually.
Manual schema migration
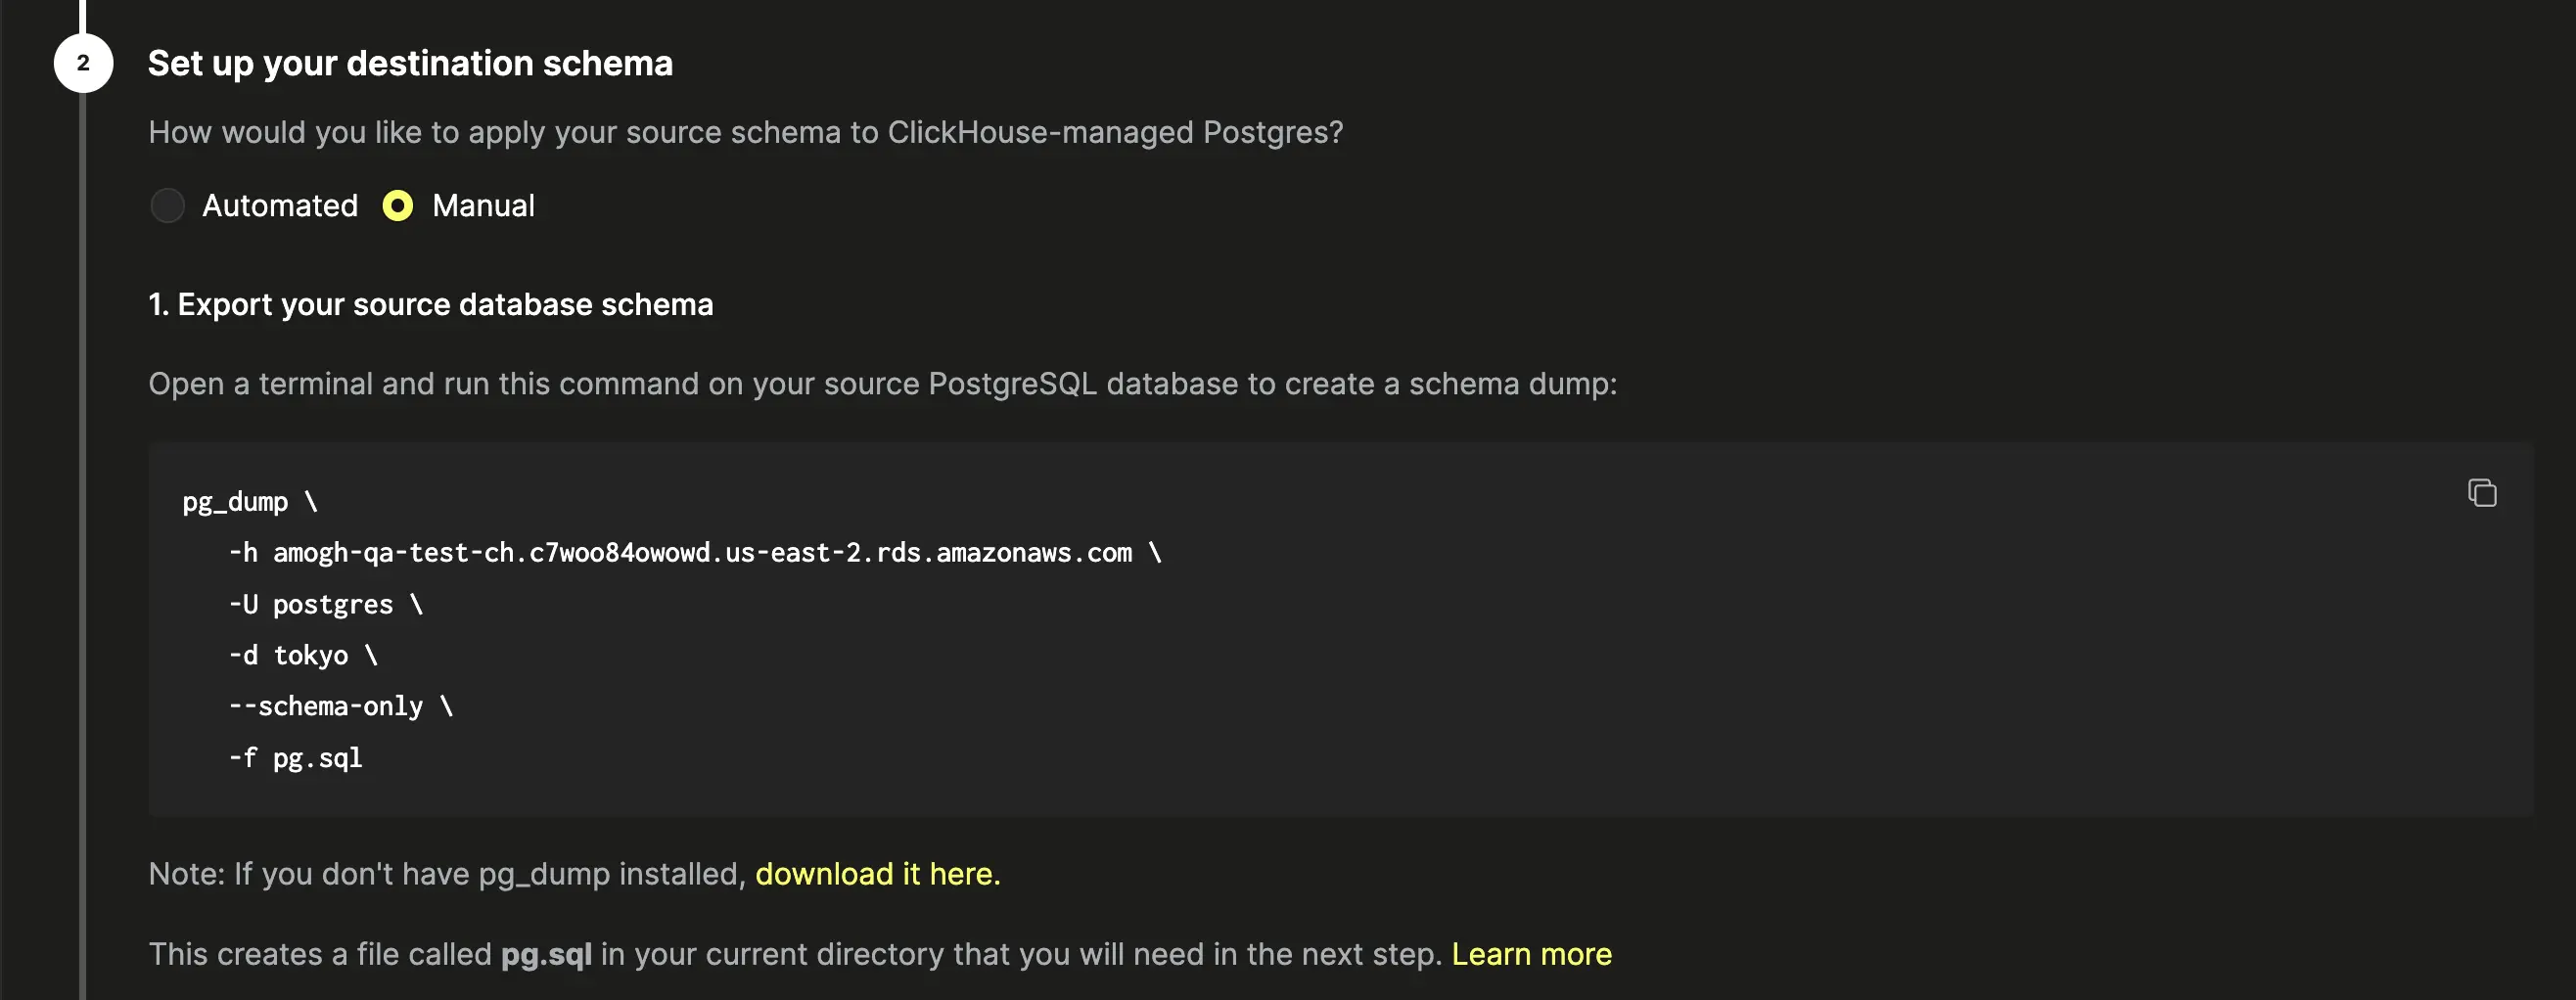
For cases where you already have existing data in your target database, or are aiming for a more customized setup versus the clean slate which the automated mode expects, you can opt for the Manual mode here.
Export your database schema
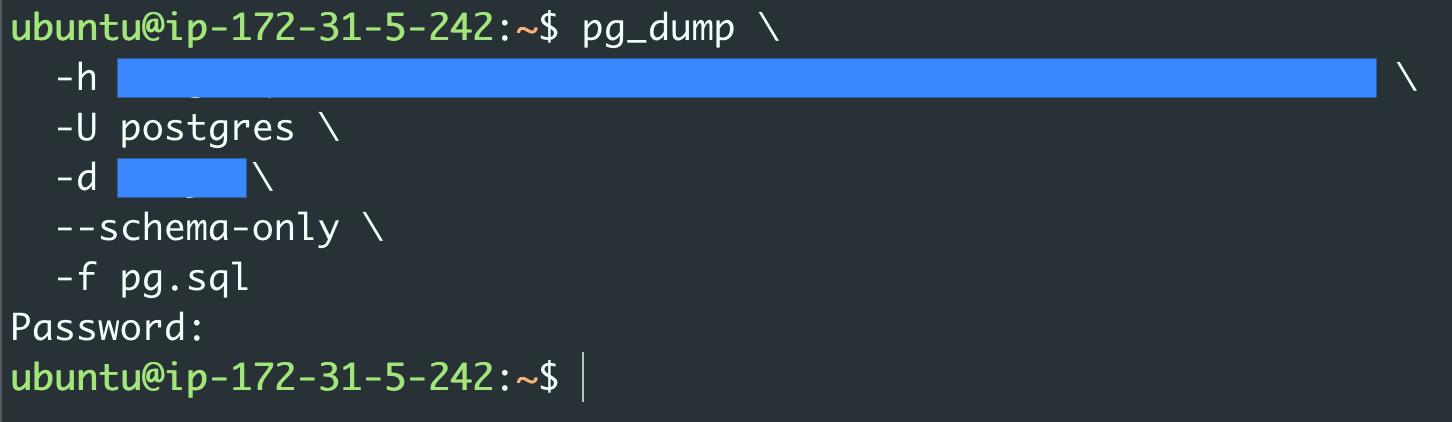
The wizard displays a pg_dump command pre-filled with your source connection details. Run it in a terminal:
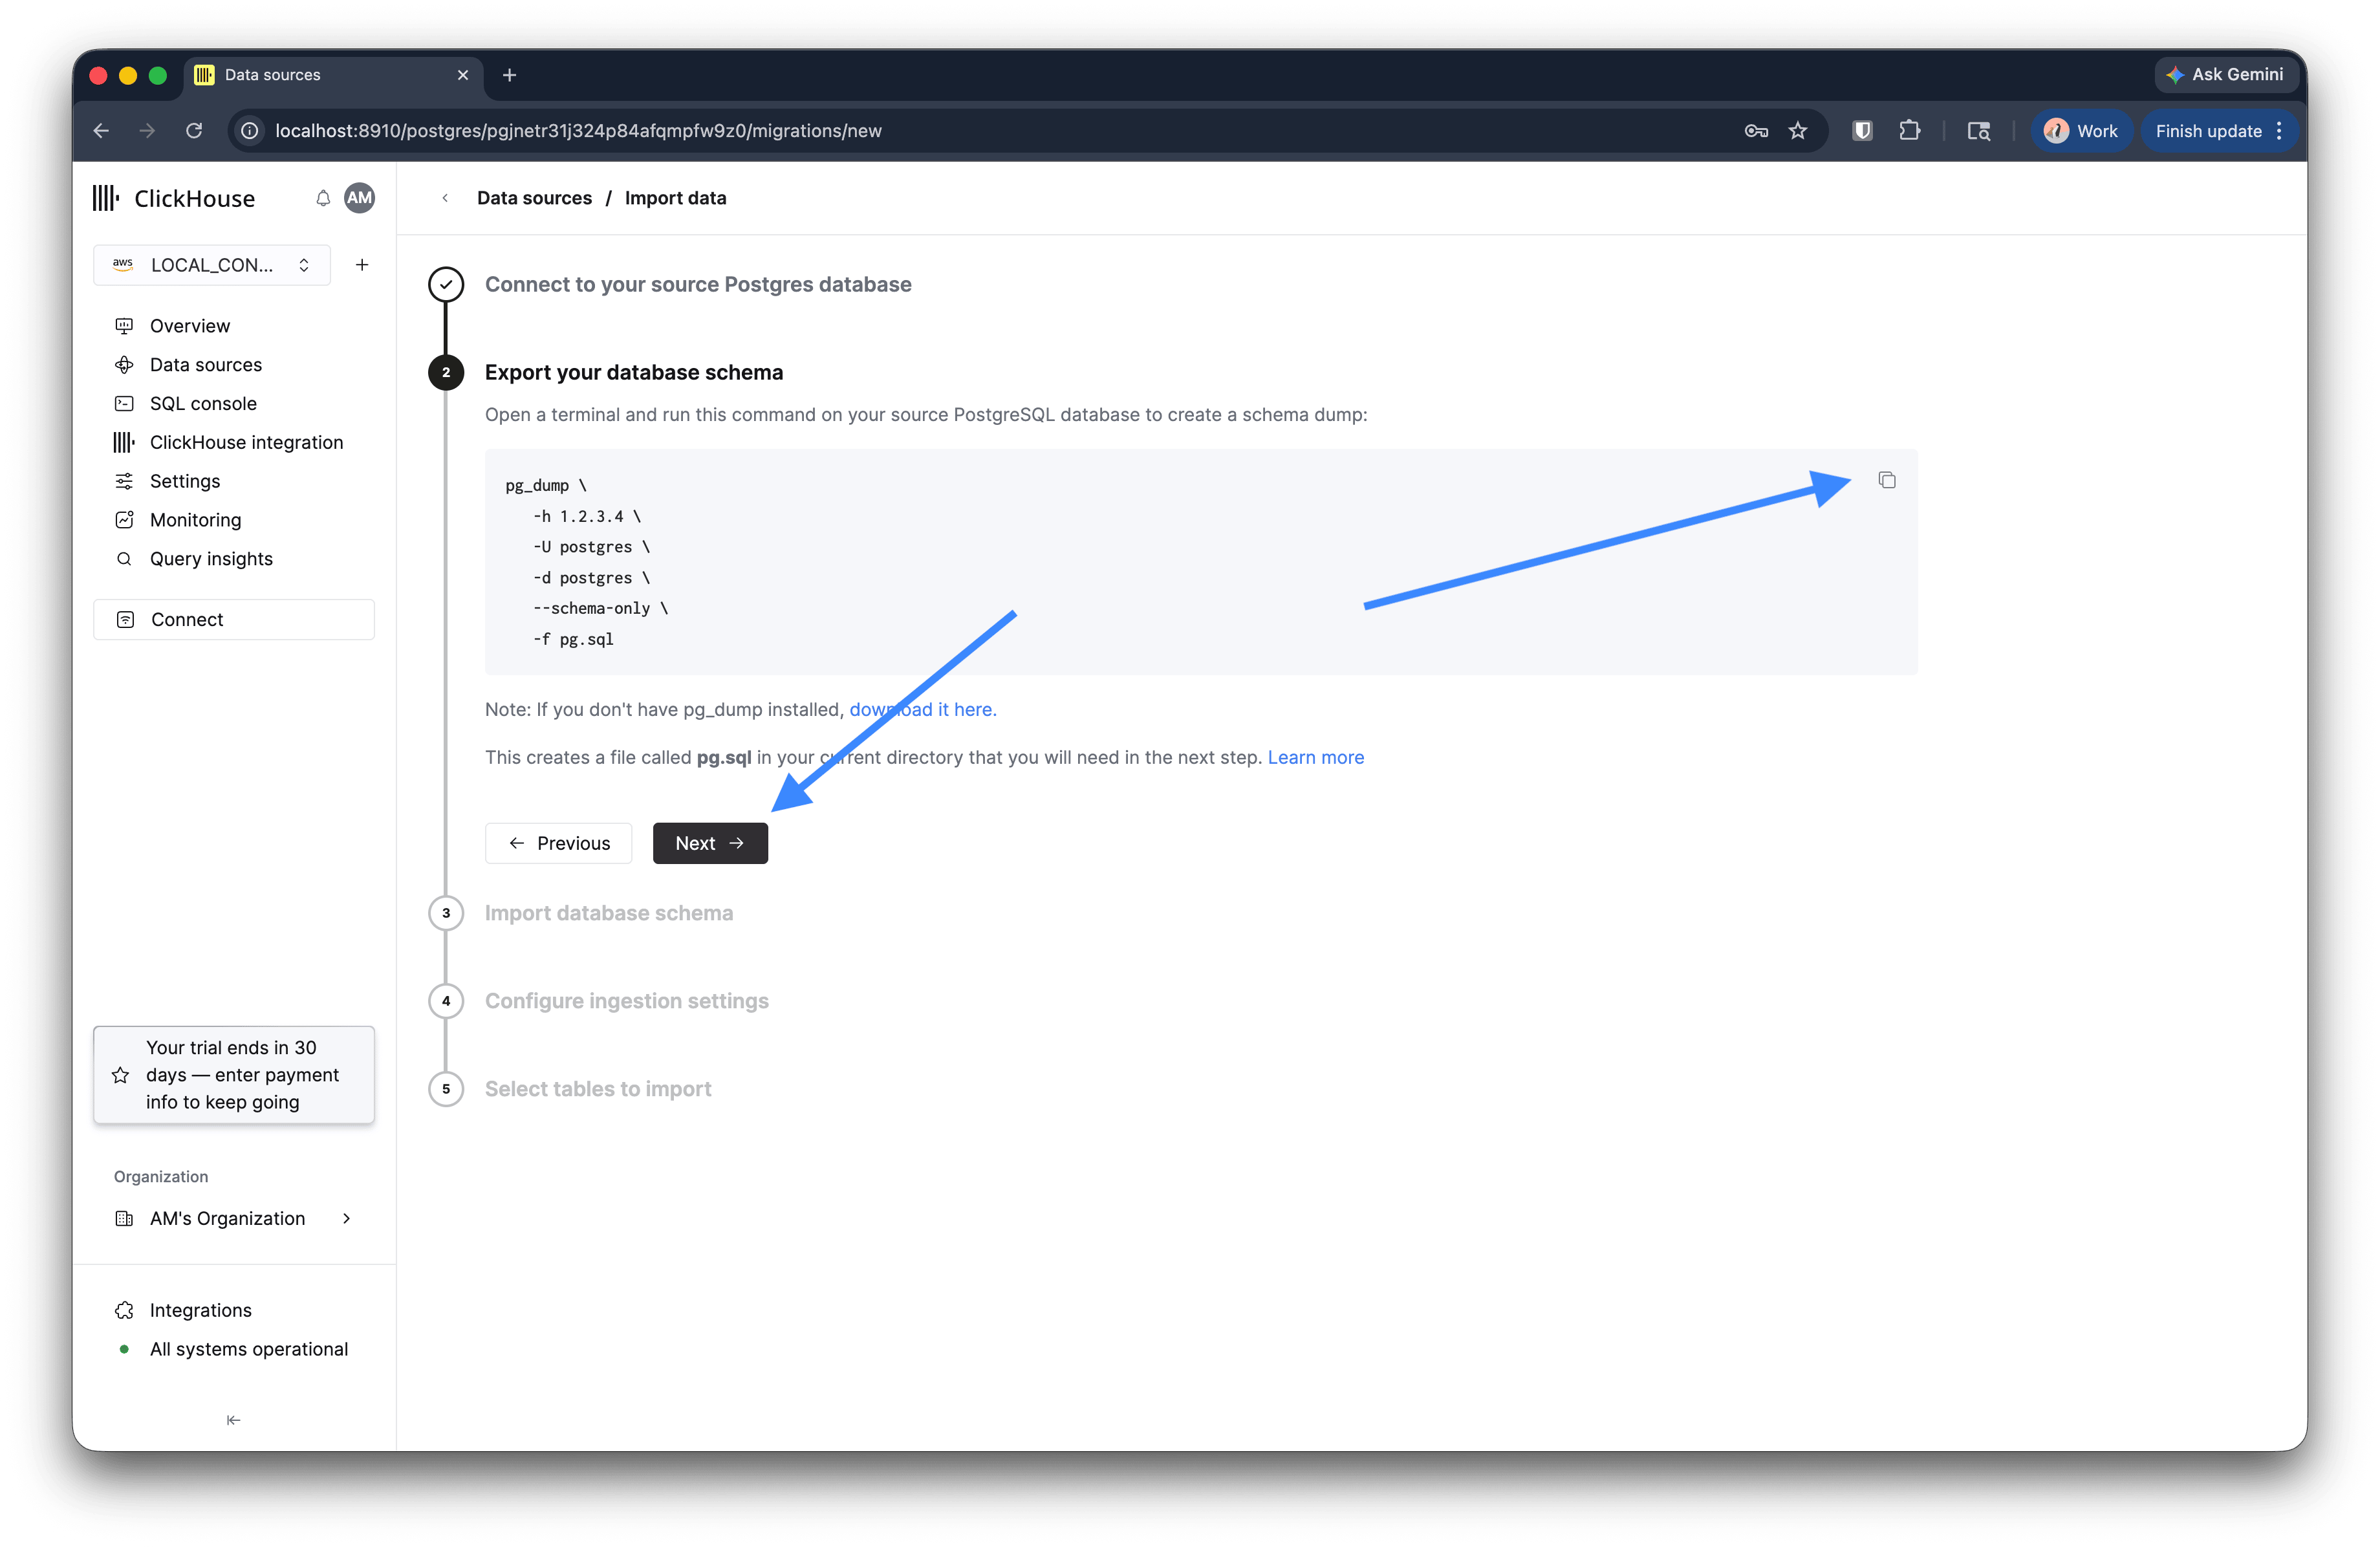
pg_dump \
  -h <source_host> \
  -U <source_user> \
  -d <source_database> \
  --schema-only \
  -f pg.sql
This creates pg.sql in your current directory.
Click Next.
Import the schema into your Managed Postgres service
Select the destination database from the dropdown, or click Create a new database to provision one.
The wizard displays a psql command to apply the schema dump to your Managed Postgres service. Run it in a terminal:
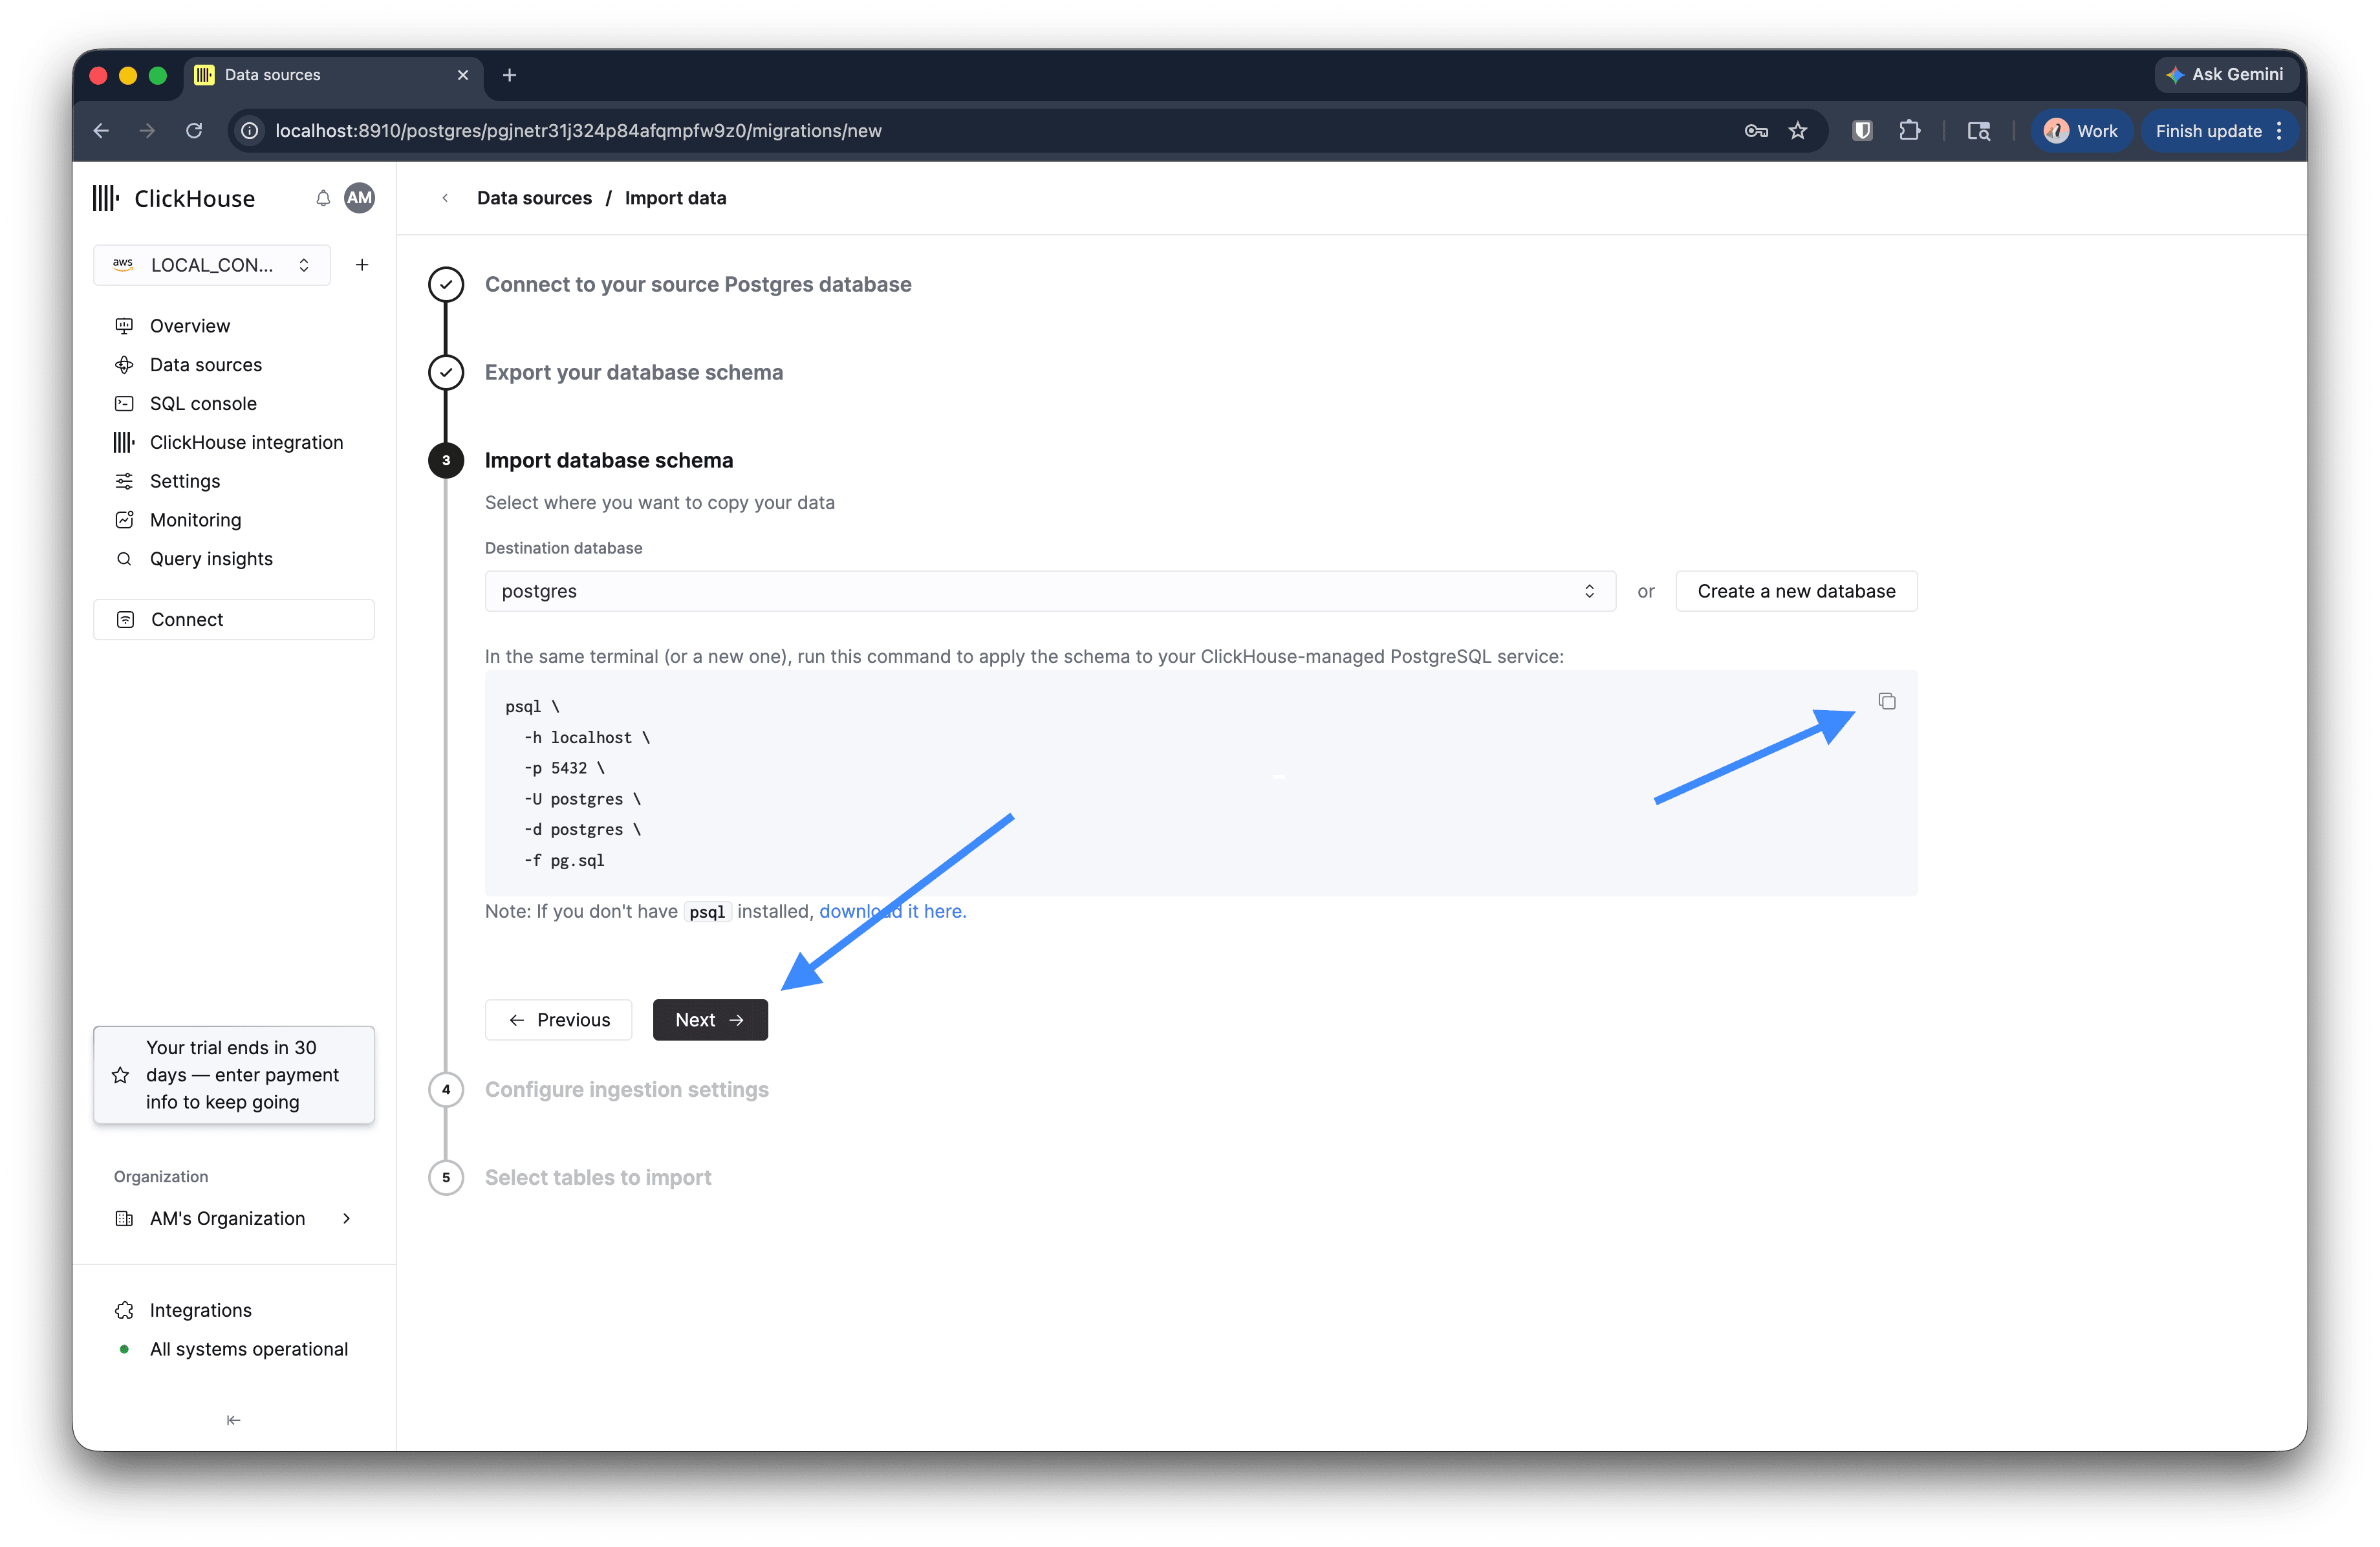
psql \
  -h <target_host> \
  -p 5432 \
  -U <target_user> \
  -d <target_database> \
  -f pg.sql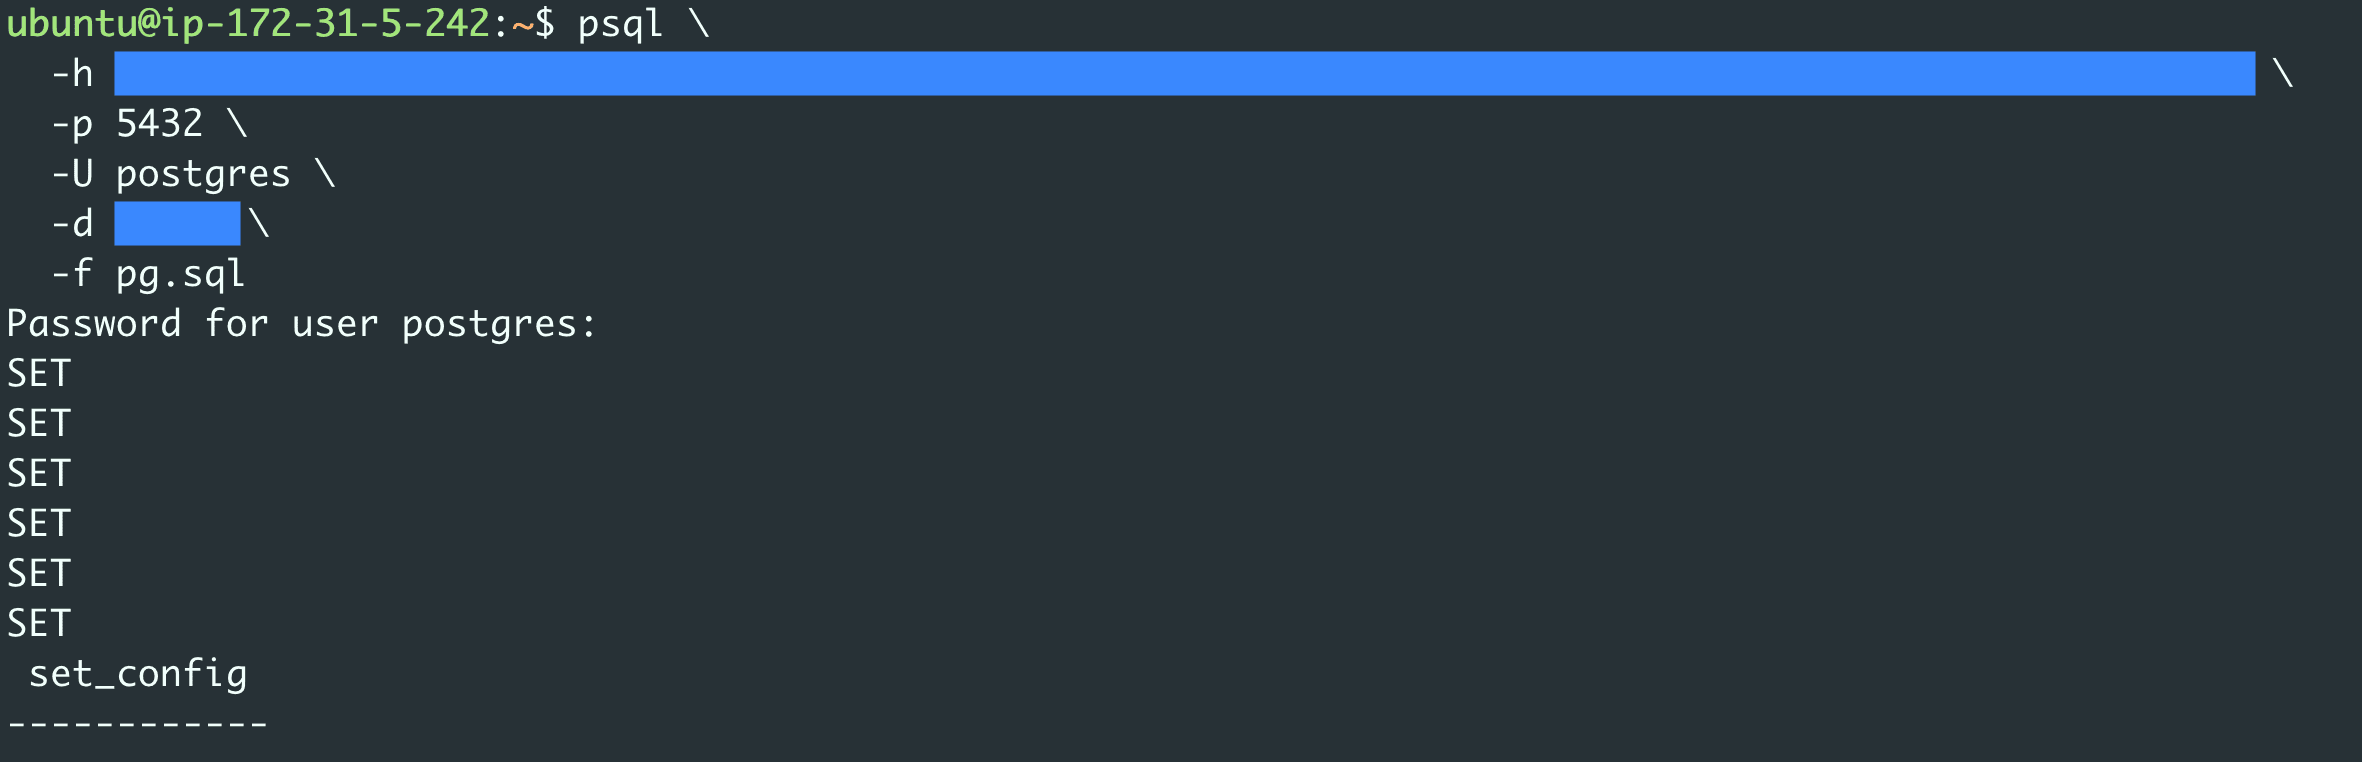
Click Next.
Step 4: Configure ingestion settings
Specify the publication to use for logical replication. If you leave this blank, a publication is created automatically.
Expand Advanced replication settings to tune throughput:
| Setting | Default | Description |
|---|---|---|
| Sync interval (seconds) | 10 | How frequently the replication slot is polled |
| Parallel threads for initial load | 4 | Number of threads for the bulk copy phase |
| Pull batch size | 100,000 | Rows fetched per replication batch |
| Snapshot number of rows per partition | 100000 | Partition size for large table snapshots |
| Snapshot number of tables in parallel | 1 | Tables snapshotted concurrently |
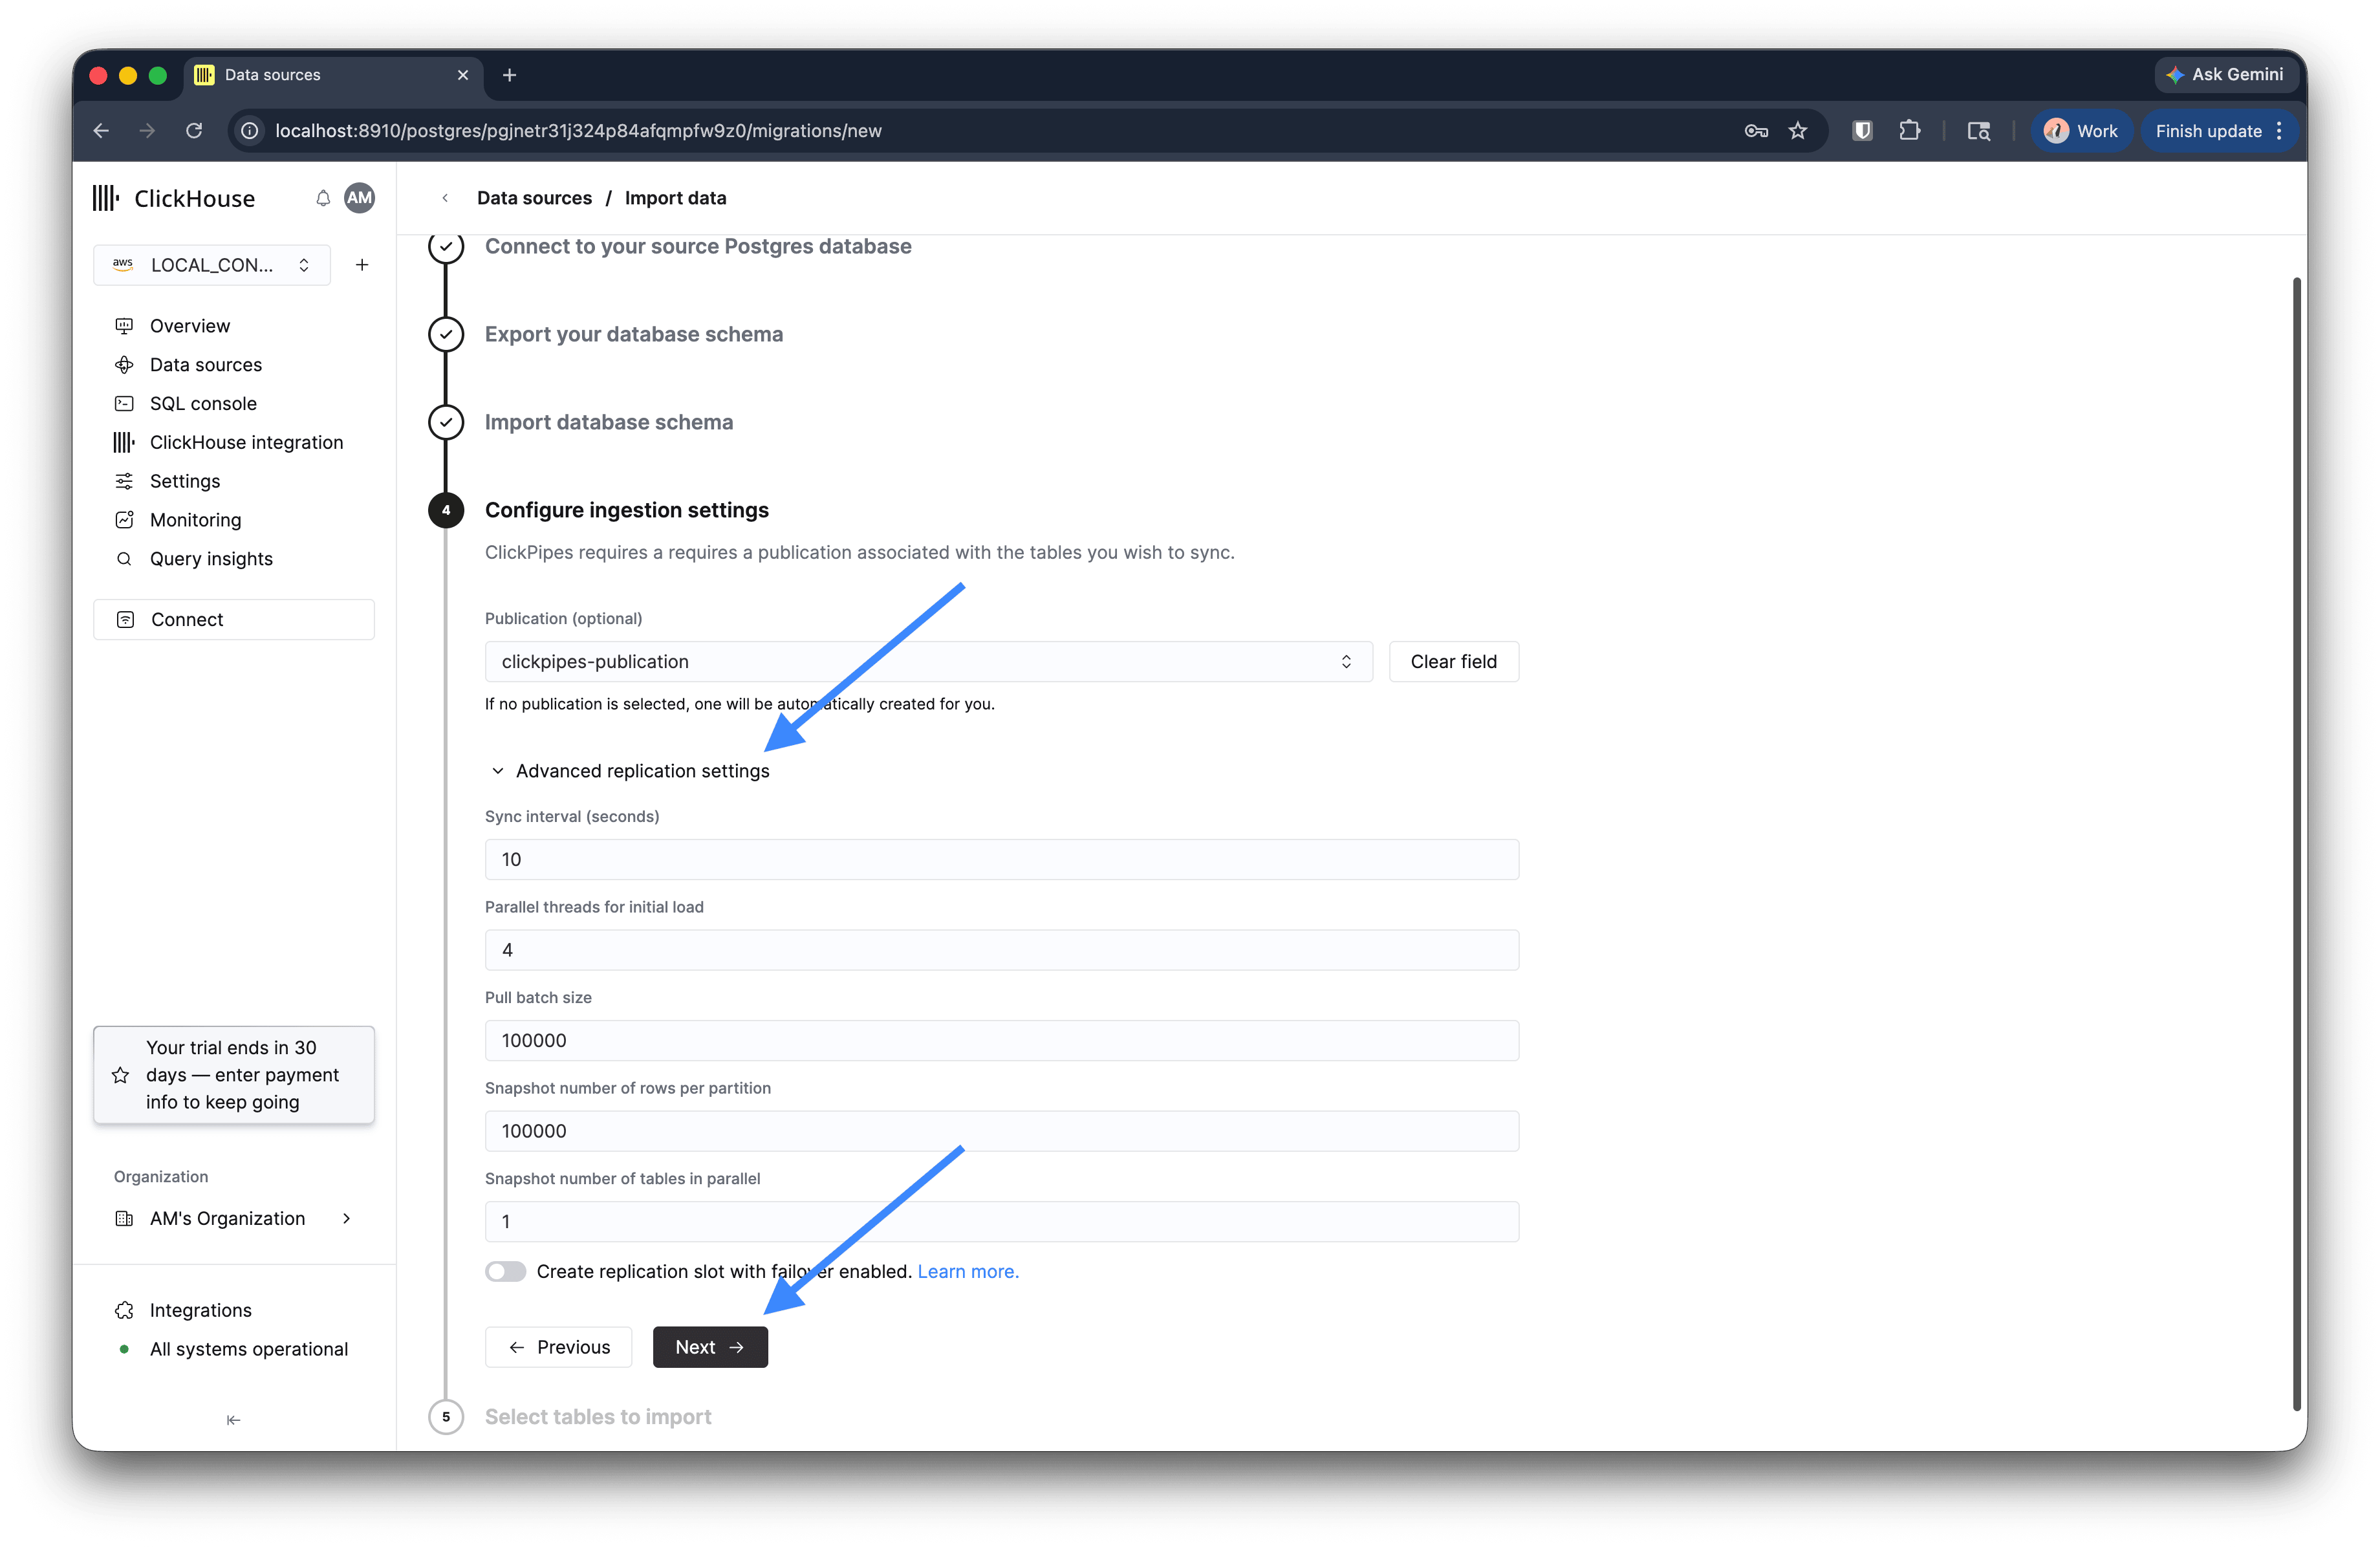
Click Next.
Step 5: Select tables
Select the tables you want to replicate. Tables are grouped by schema. Select individual tables or expand a schema to pick all of them.
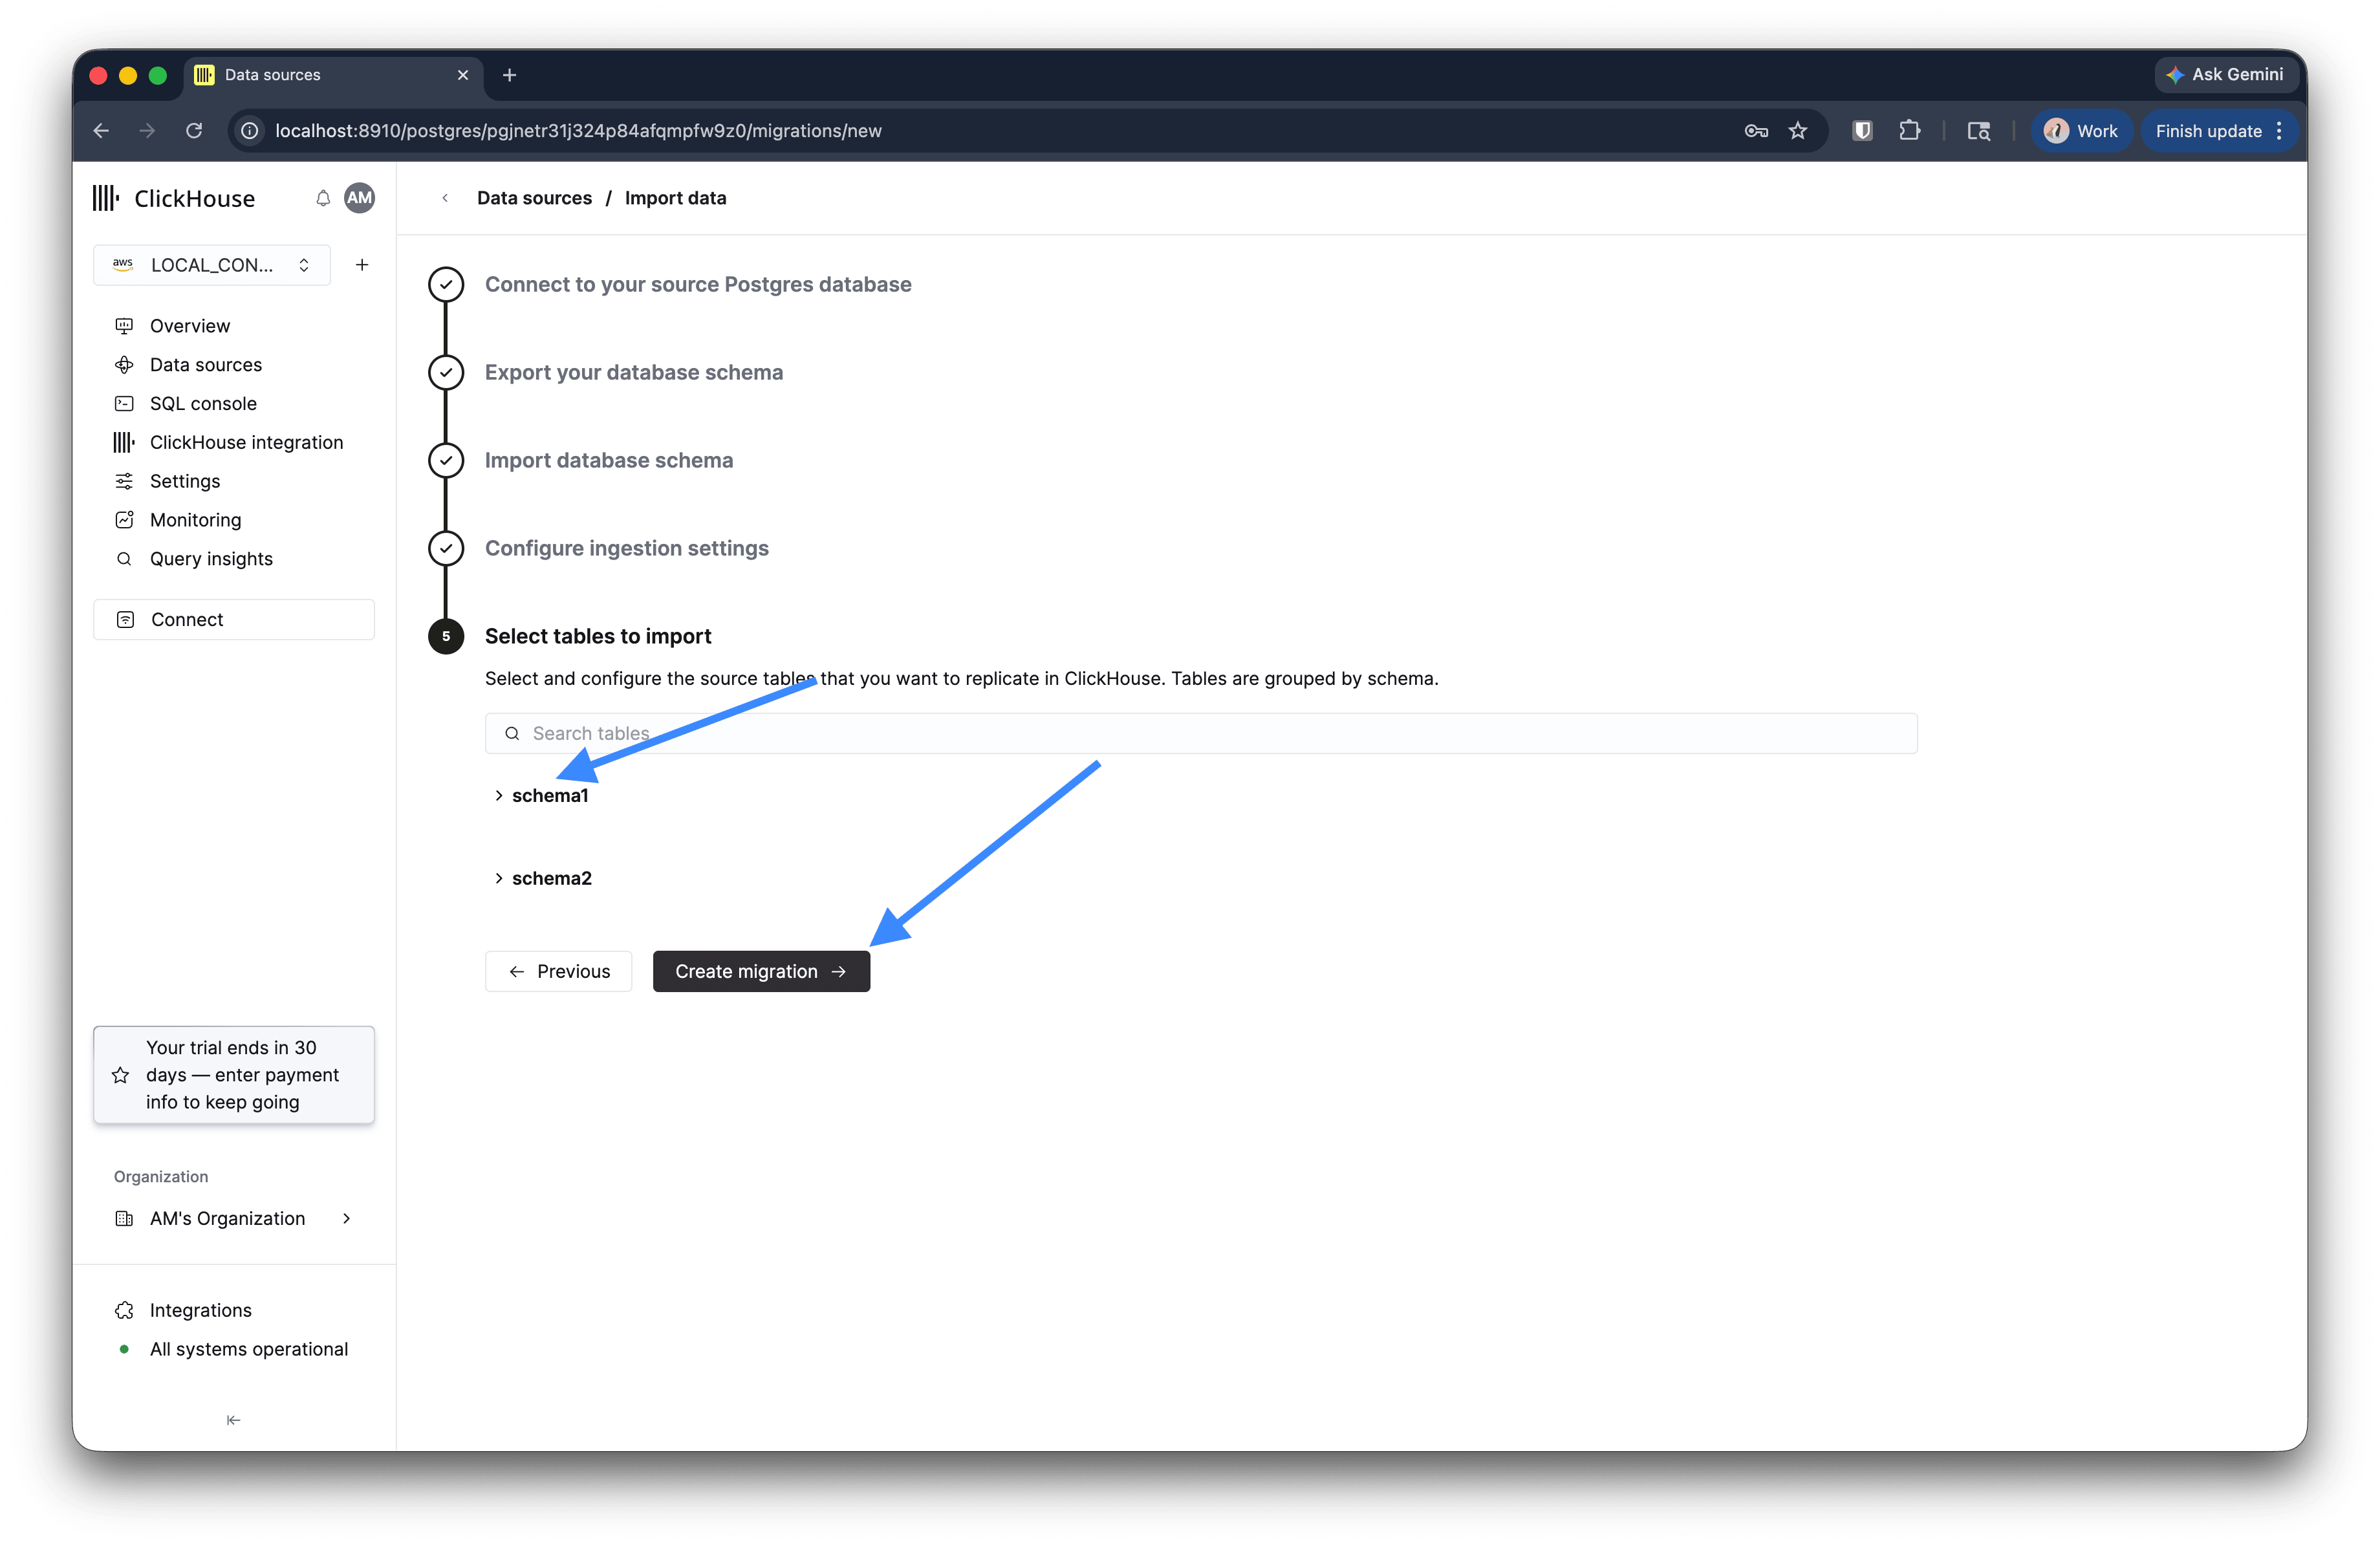
Click Create migration.
Monitor the migration
After creating the migration, you’ll see it listed in Data sources with a Running status.
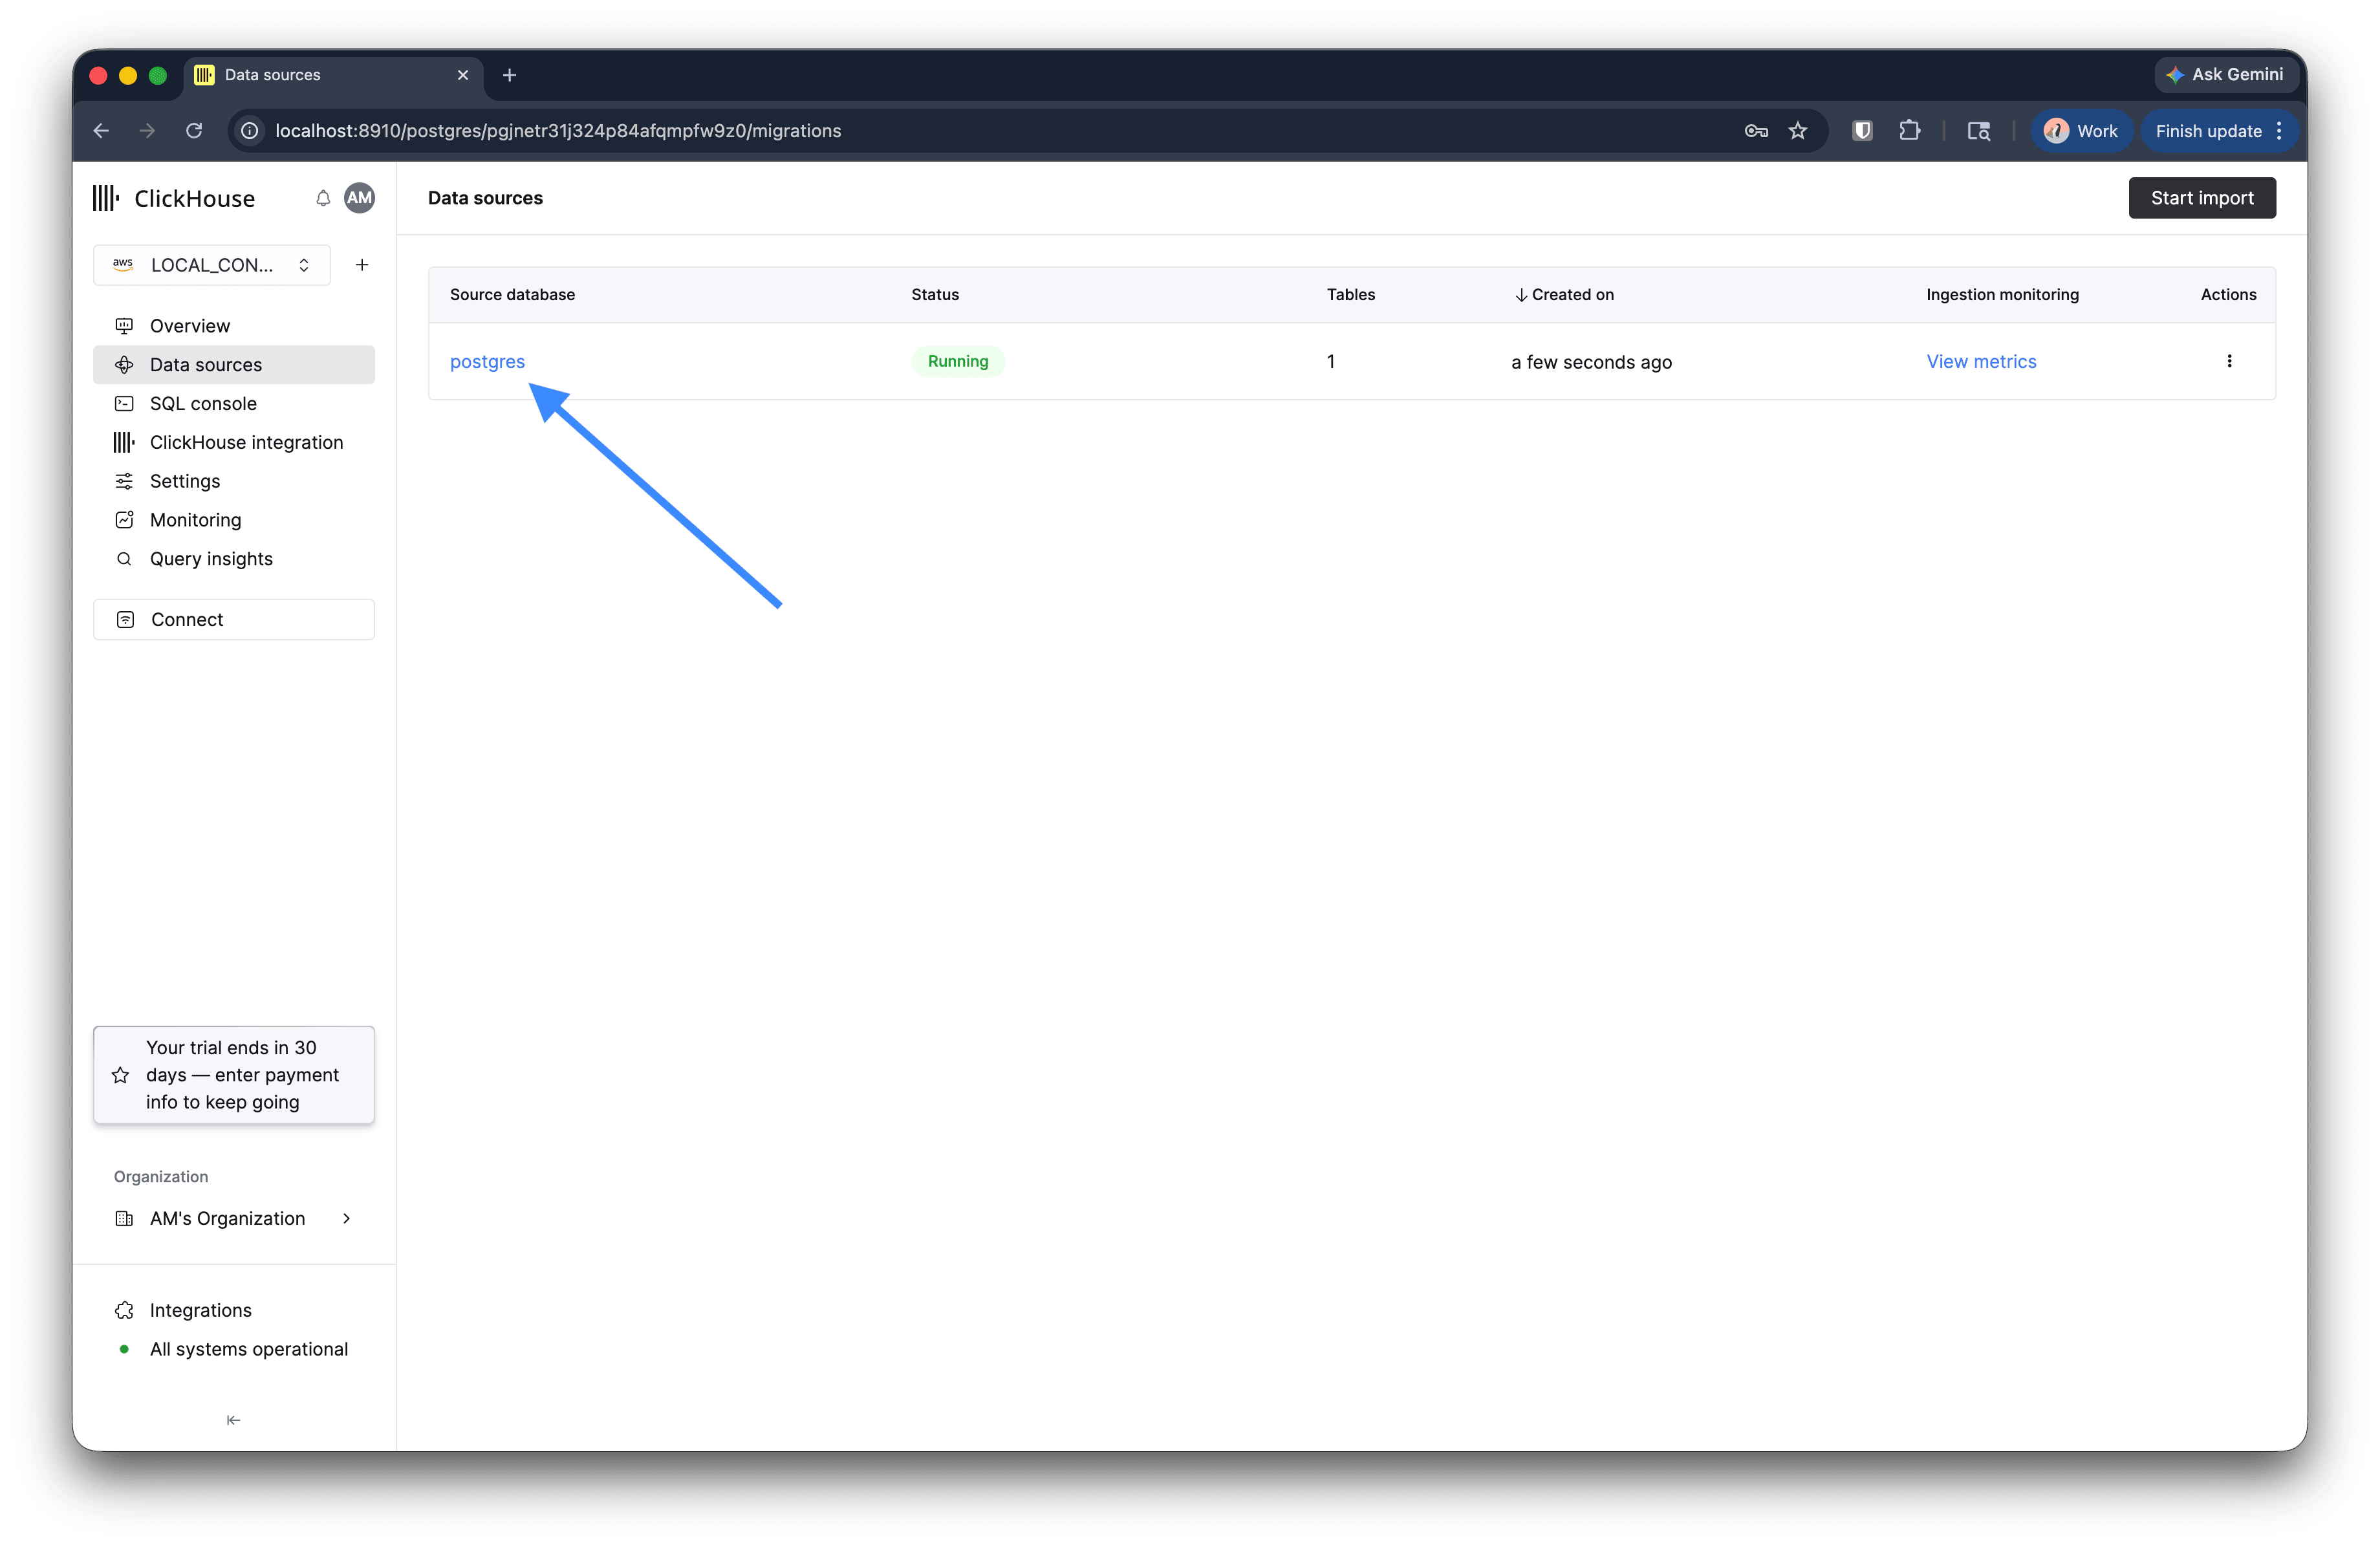
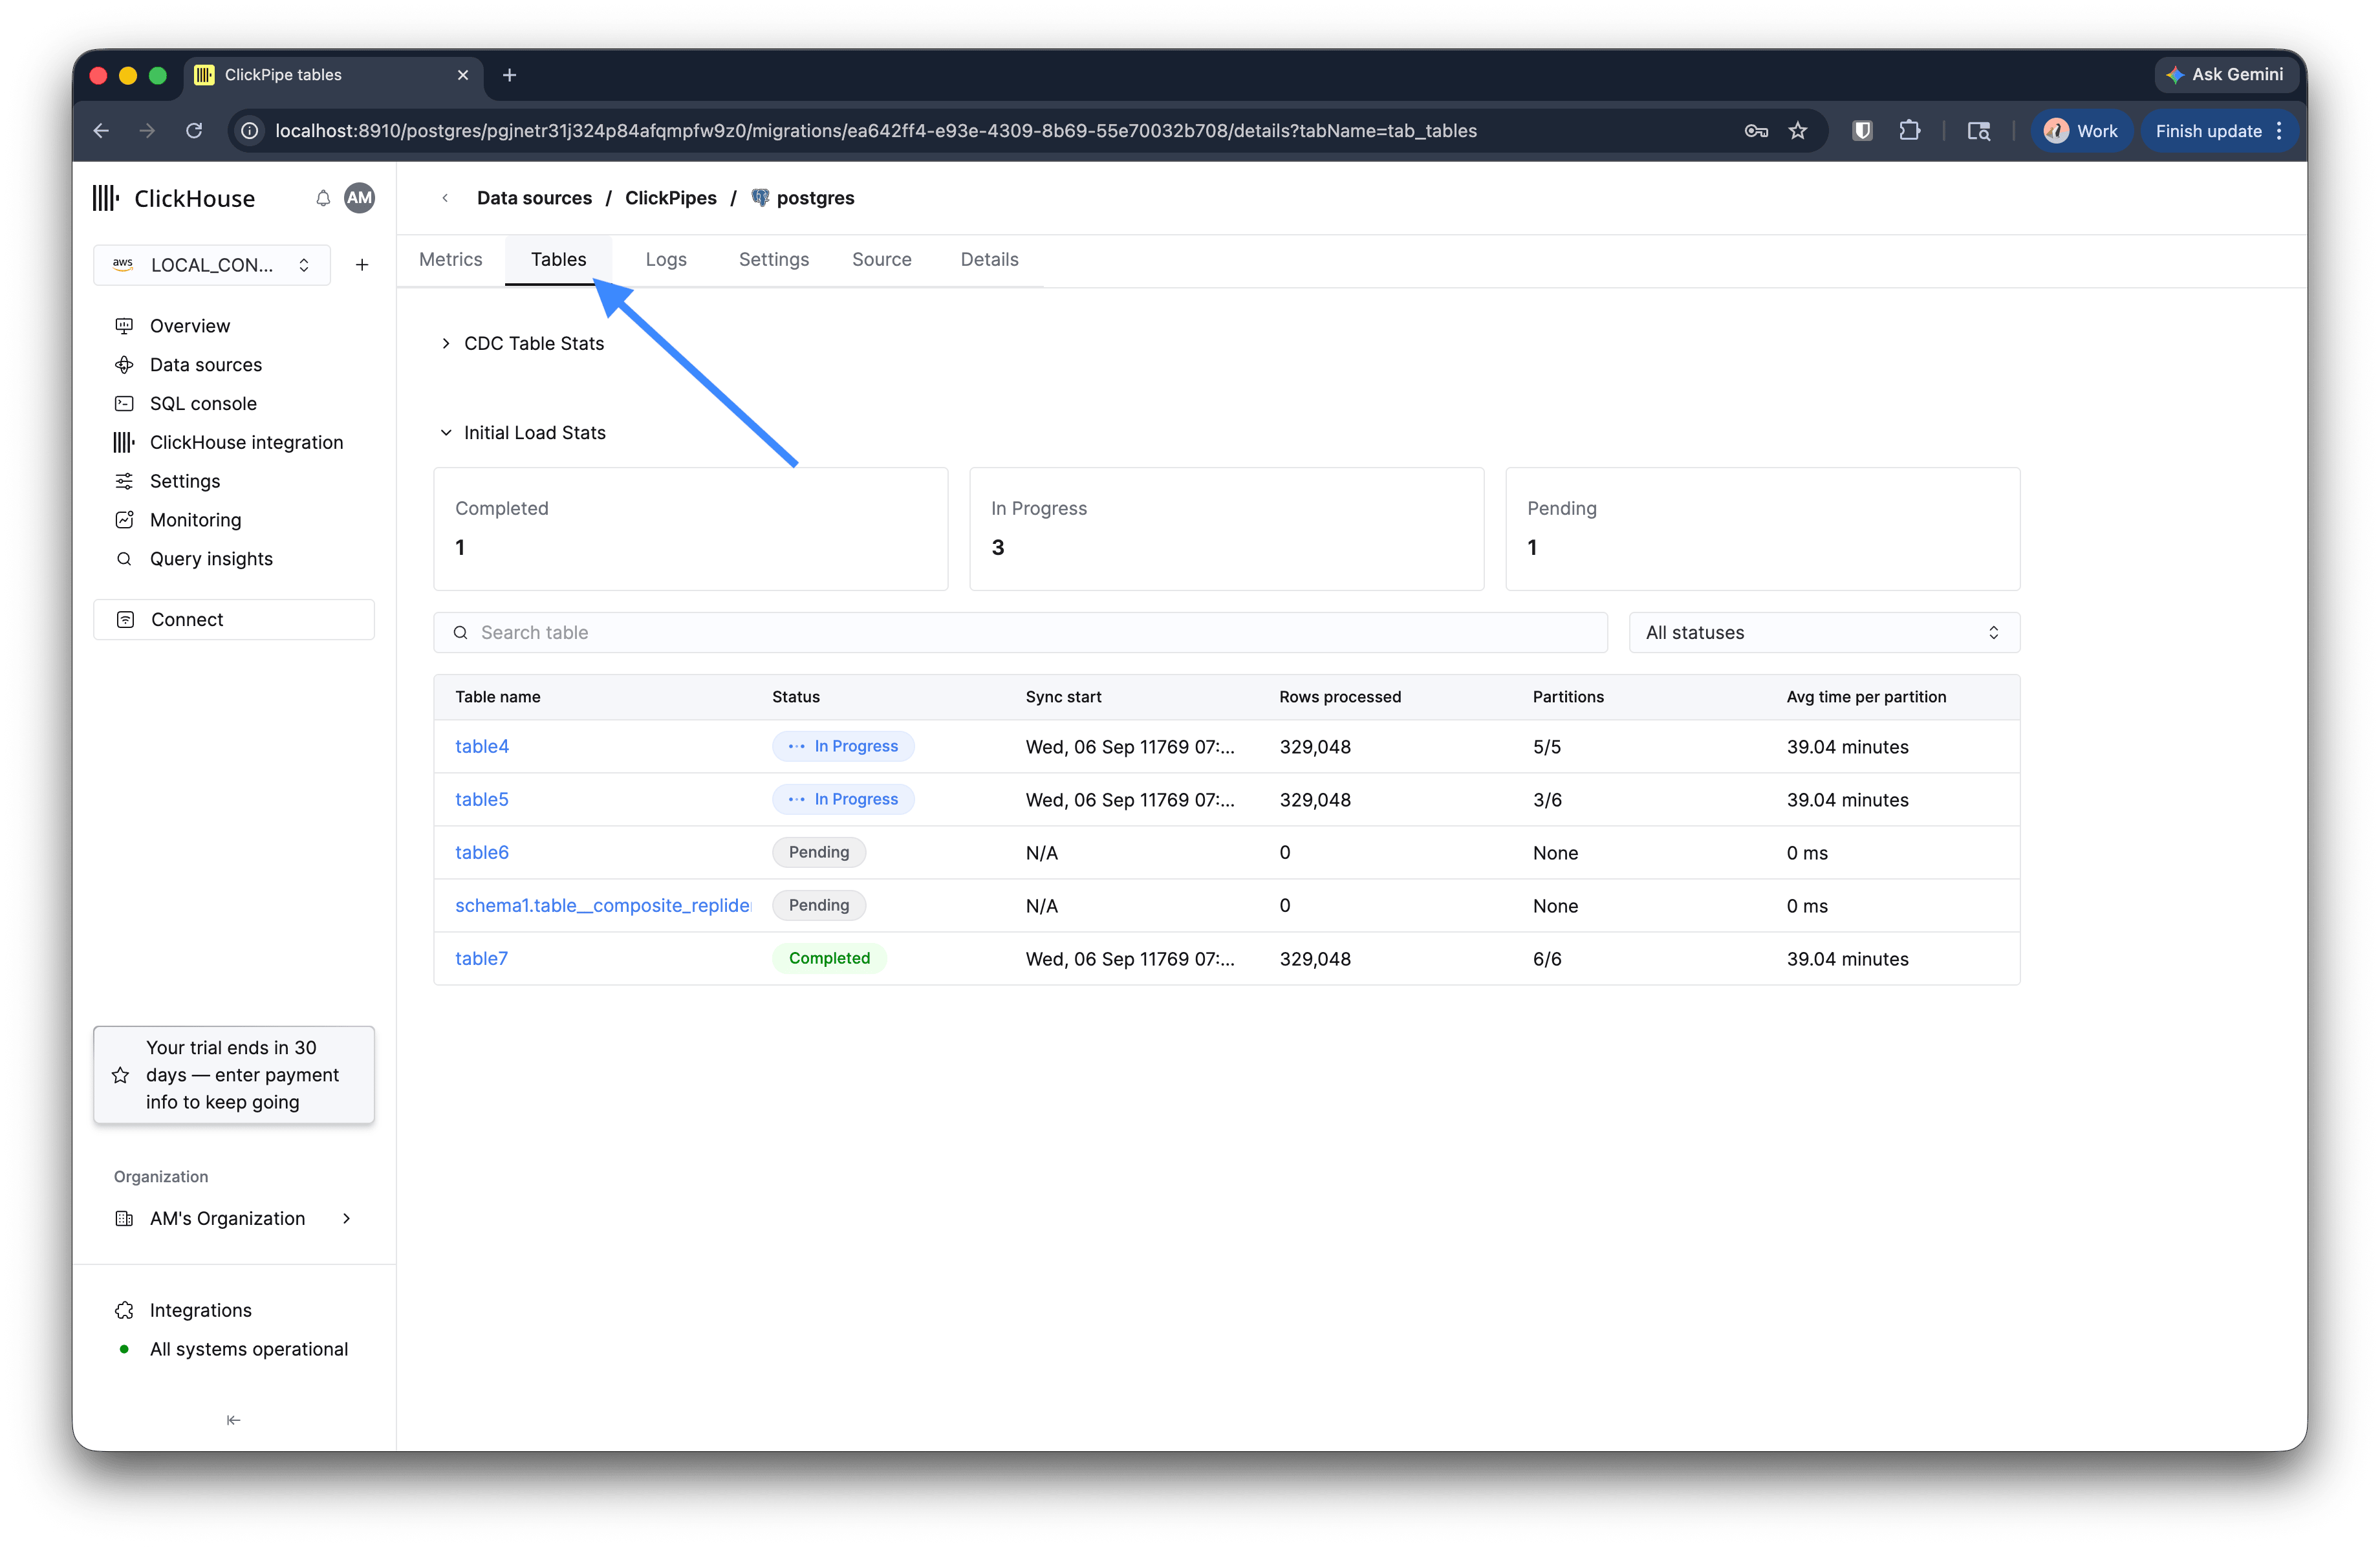
Click the migration to open the detail view. The Tables tab shows the initial load progress for each table, including rows processed, partitions, and average time per partition. The Metrics tab shows replication lag and throughput once CDC begins.
Cut over traffic
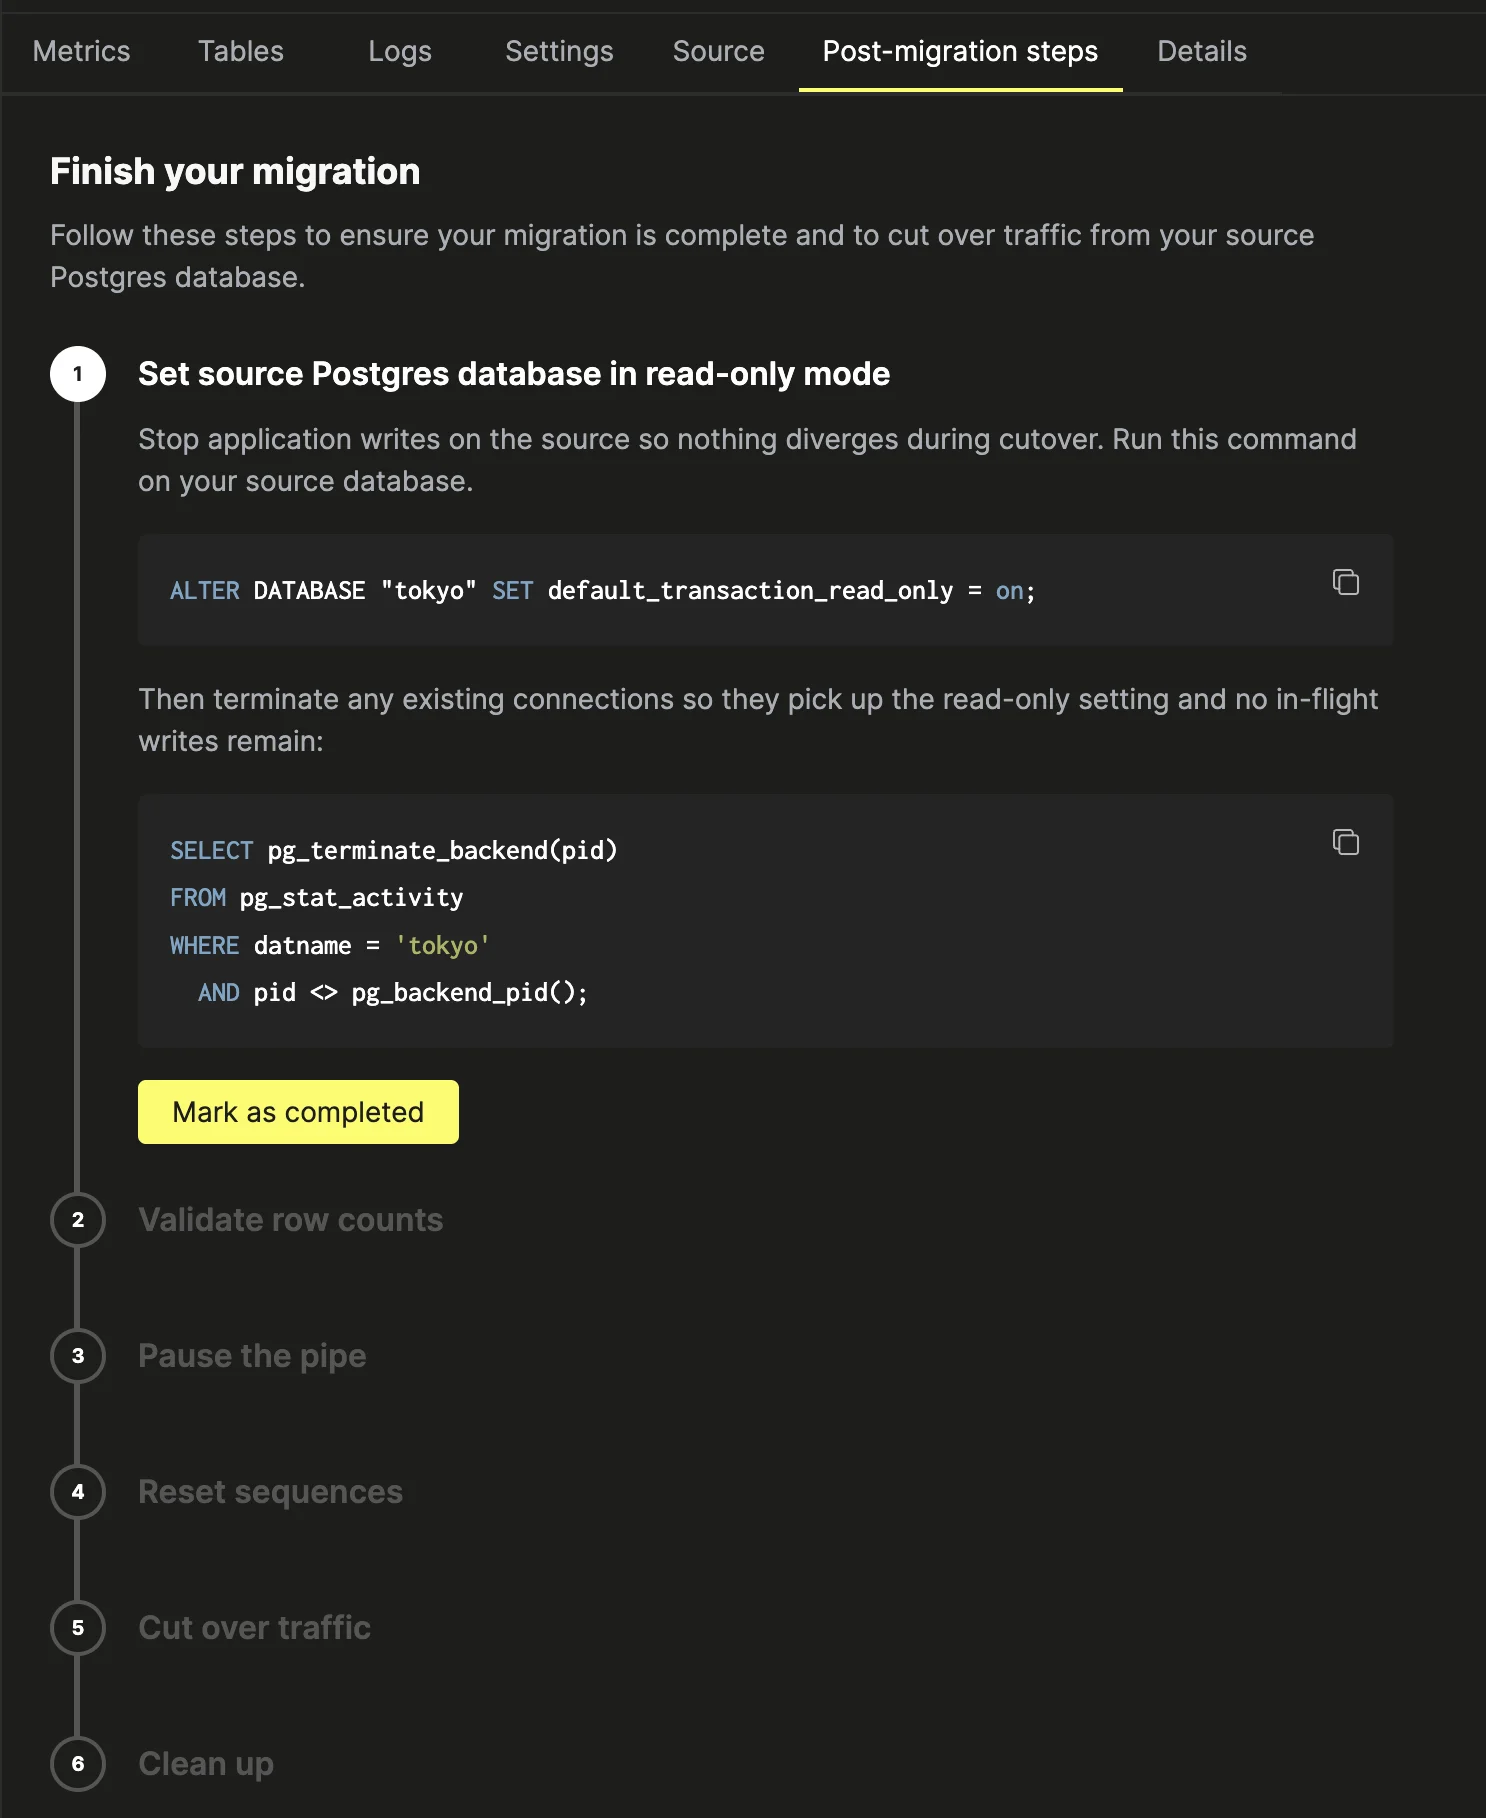
Once the initial load is complete and, if using CDC, replication lag is near zero, you can cut over traffic from your source Postgres database to your Managed Postgres service. Open the migration detail view and select the Post-migration steps tab. This guided wizard walks you through the six steps required to finish the migration safely. Each step must be completed in order before you can advance to the next.
Step 1: Set source Postgres database in read-only mode
Stop application writes on the source so nothing diverges during cutover. The wizard shows an ALTER DATABASE command pre-filled with your source database name — run it on your source database:
ALTER DATABASE "<source_db>" SET default_transaction_read_only = on;Then terminate any existing connections so they pick up the read-only setting and no in-flight writes remain:
SELECT pg_terminate_backend(pid)
FROM pg_stat_activity
WHERE datname = '<source_db>'
AND pid <> pg_backend_pid();Click Mark as completed to continue.
Step 2: Validate row counts
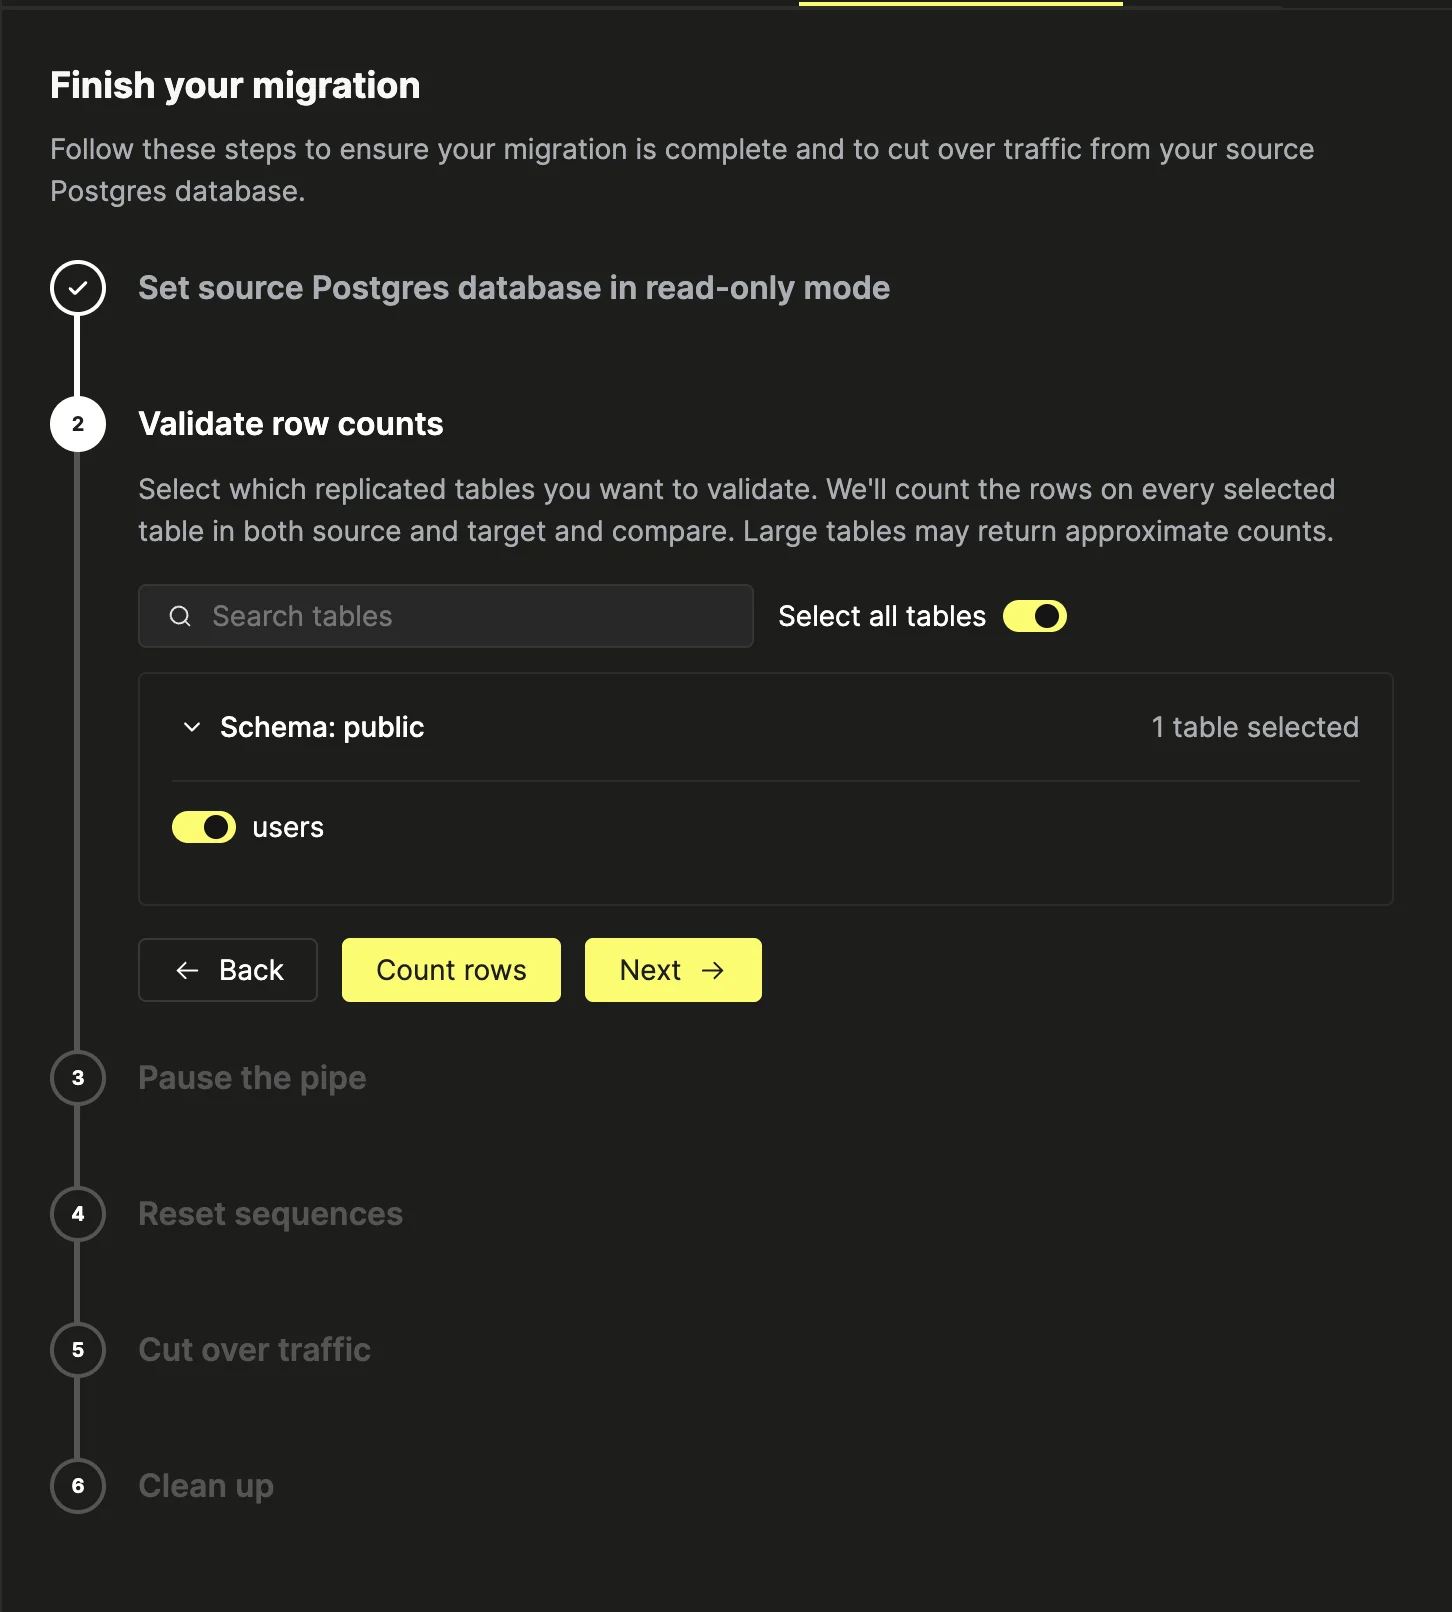
Select which replicated tables you want to validate. ClickPipes counts the rows on every selected table in both source and target and compares them. Large tables may return approximate counts. Use Select all tables to validate every table, or search for and toggle specific tables, then click Count rows.
Step 3: Pause the pipe
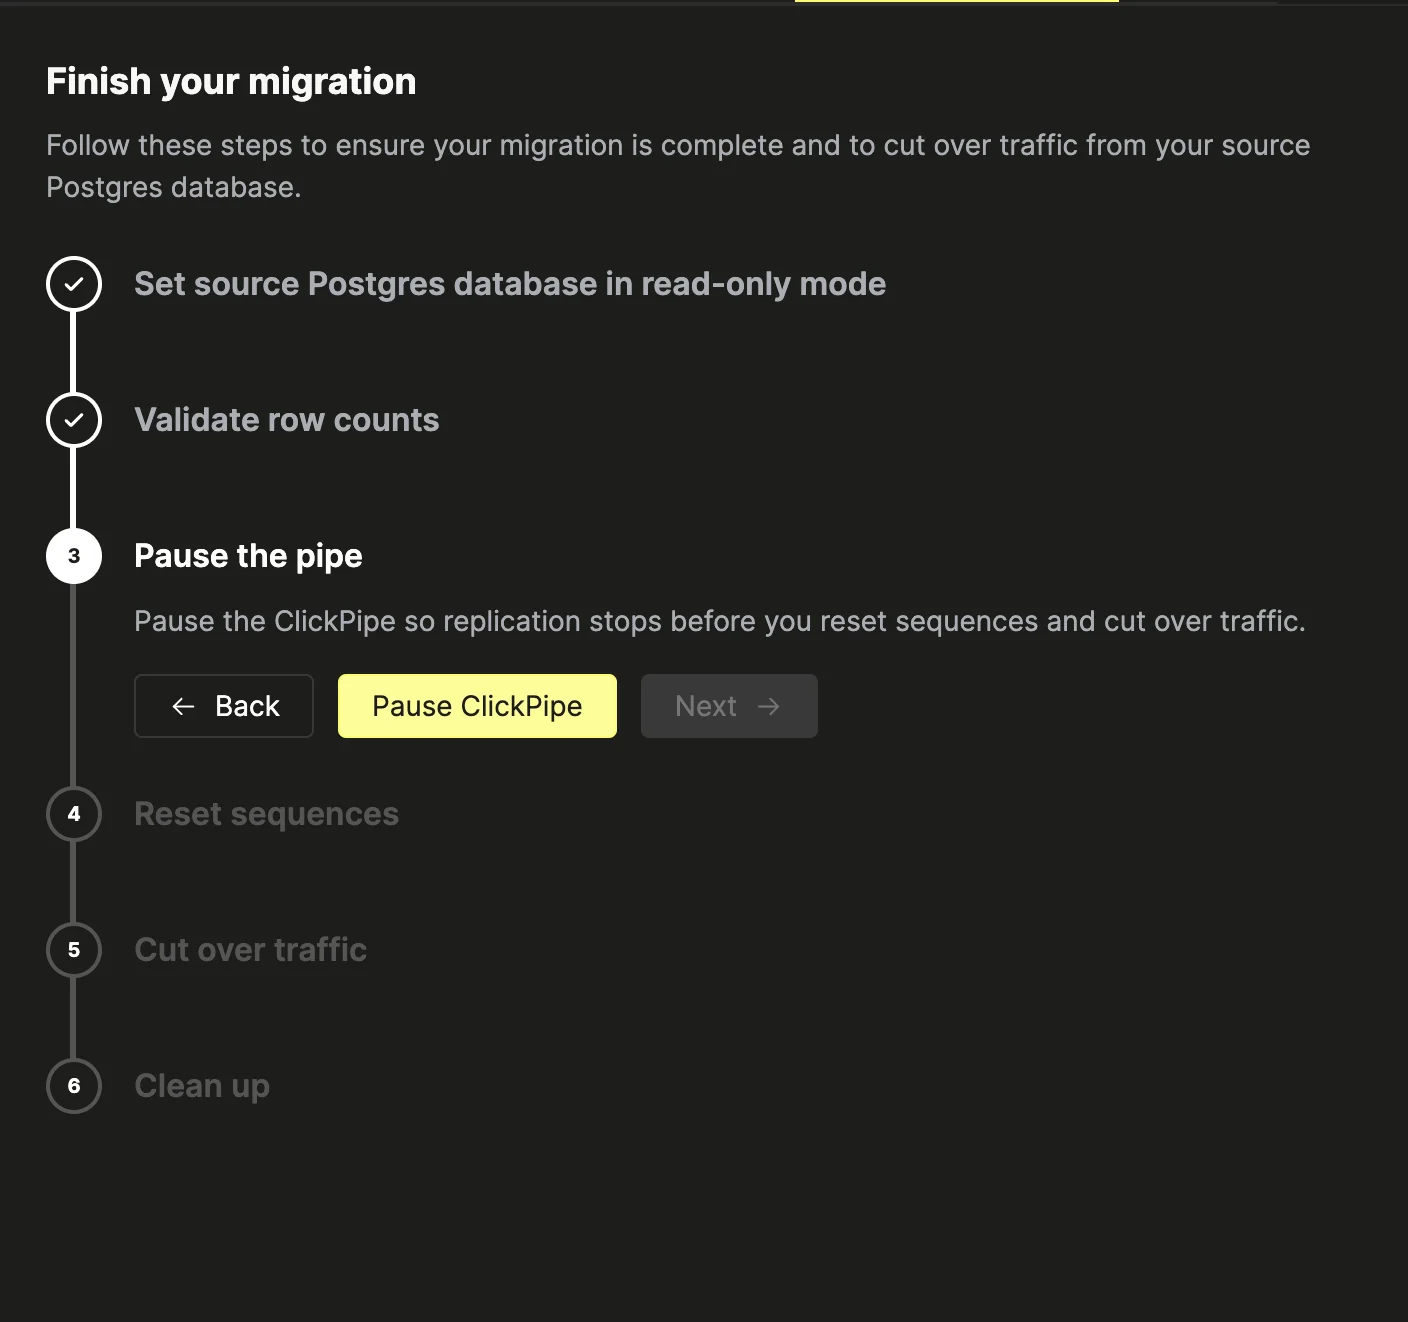
Pause the ClickPipe so replication stops before you reset sequences and cut over traffic. Click Pause ClickPipe and wait for the pipe to pause before continuing.
Step 4: Reset sequences
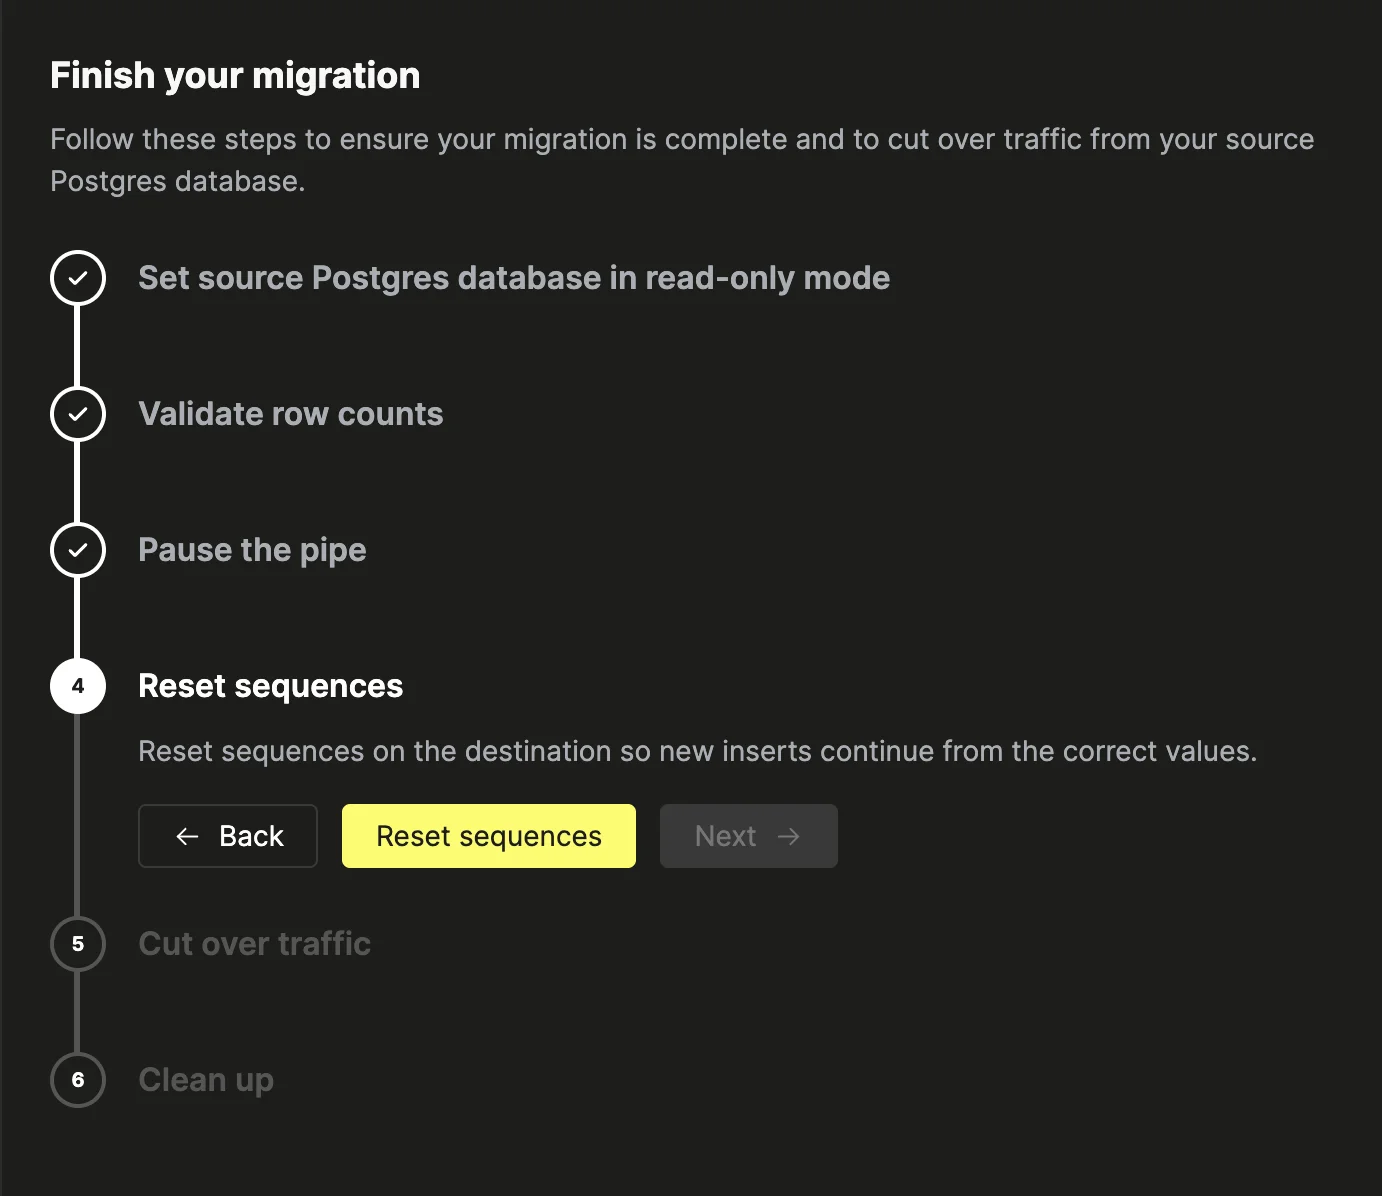
Reset sequences on the destination so new inserts continue from the correct values. Click Reset sequences to align each sequence with the current maximum value in its table.
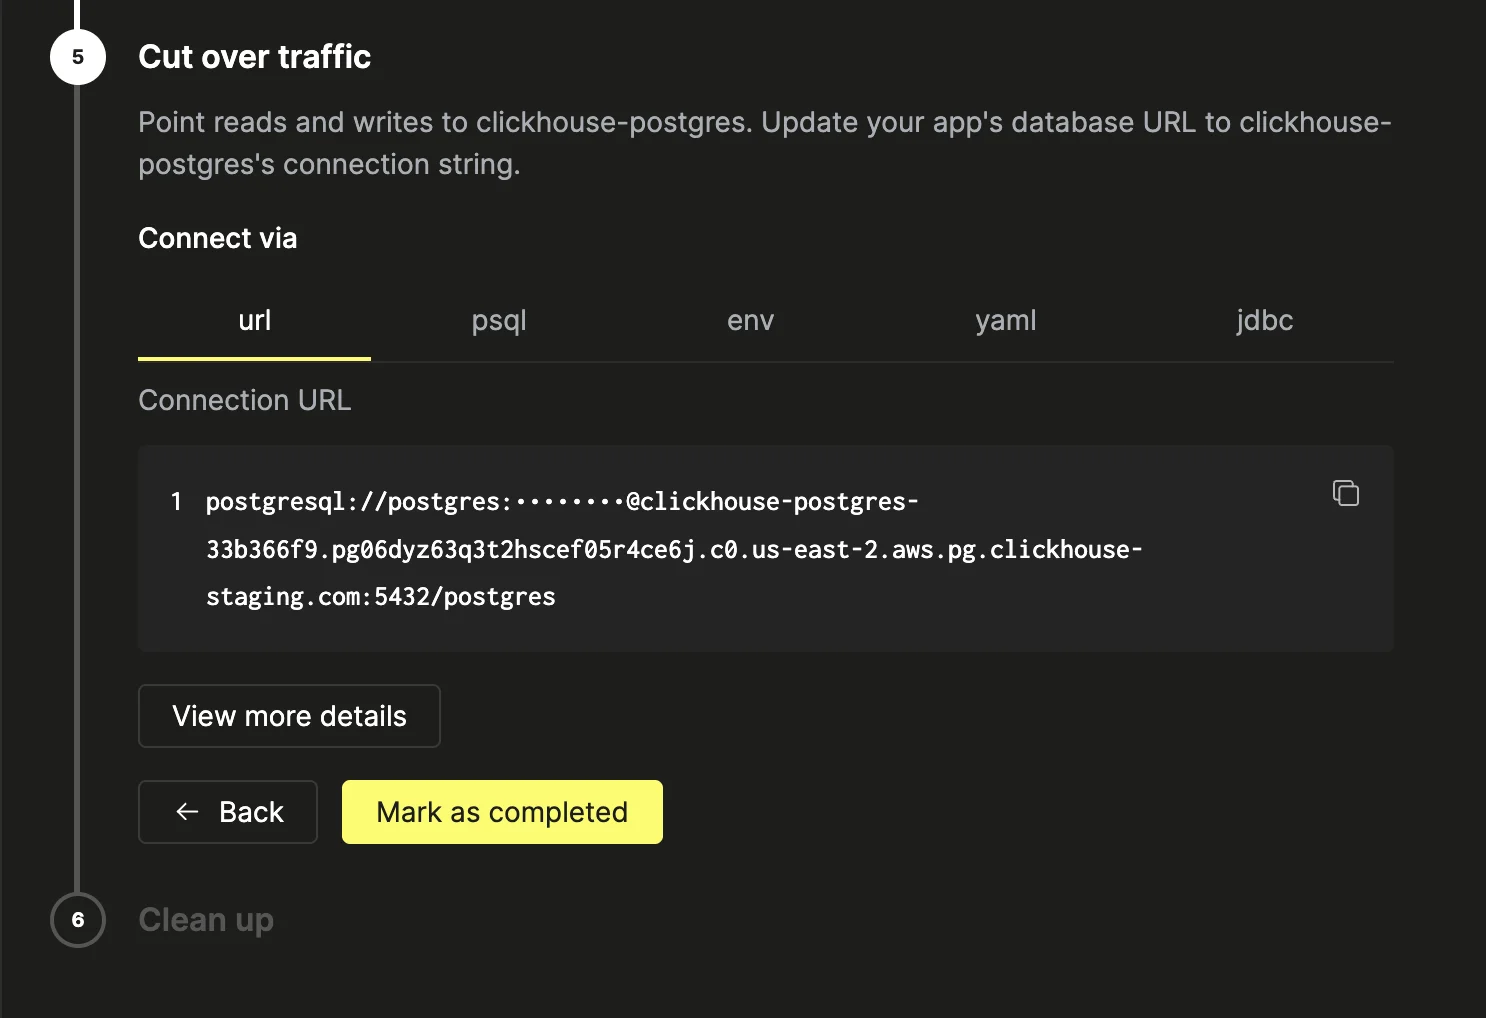
Step 5: Cut over traffic
Point reads and writes to your Managed Postgres service by updating your application’s database URL to the Managed Postgres connection string. The wizard provides the connection details in several formats — url, psql, env, yaml, and jdbc — so you can copy the one that matches your stack. After updating your application, click Mark as completed.
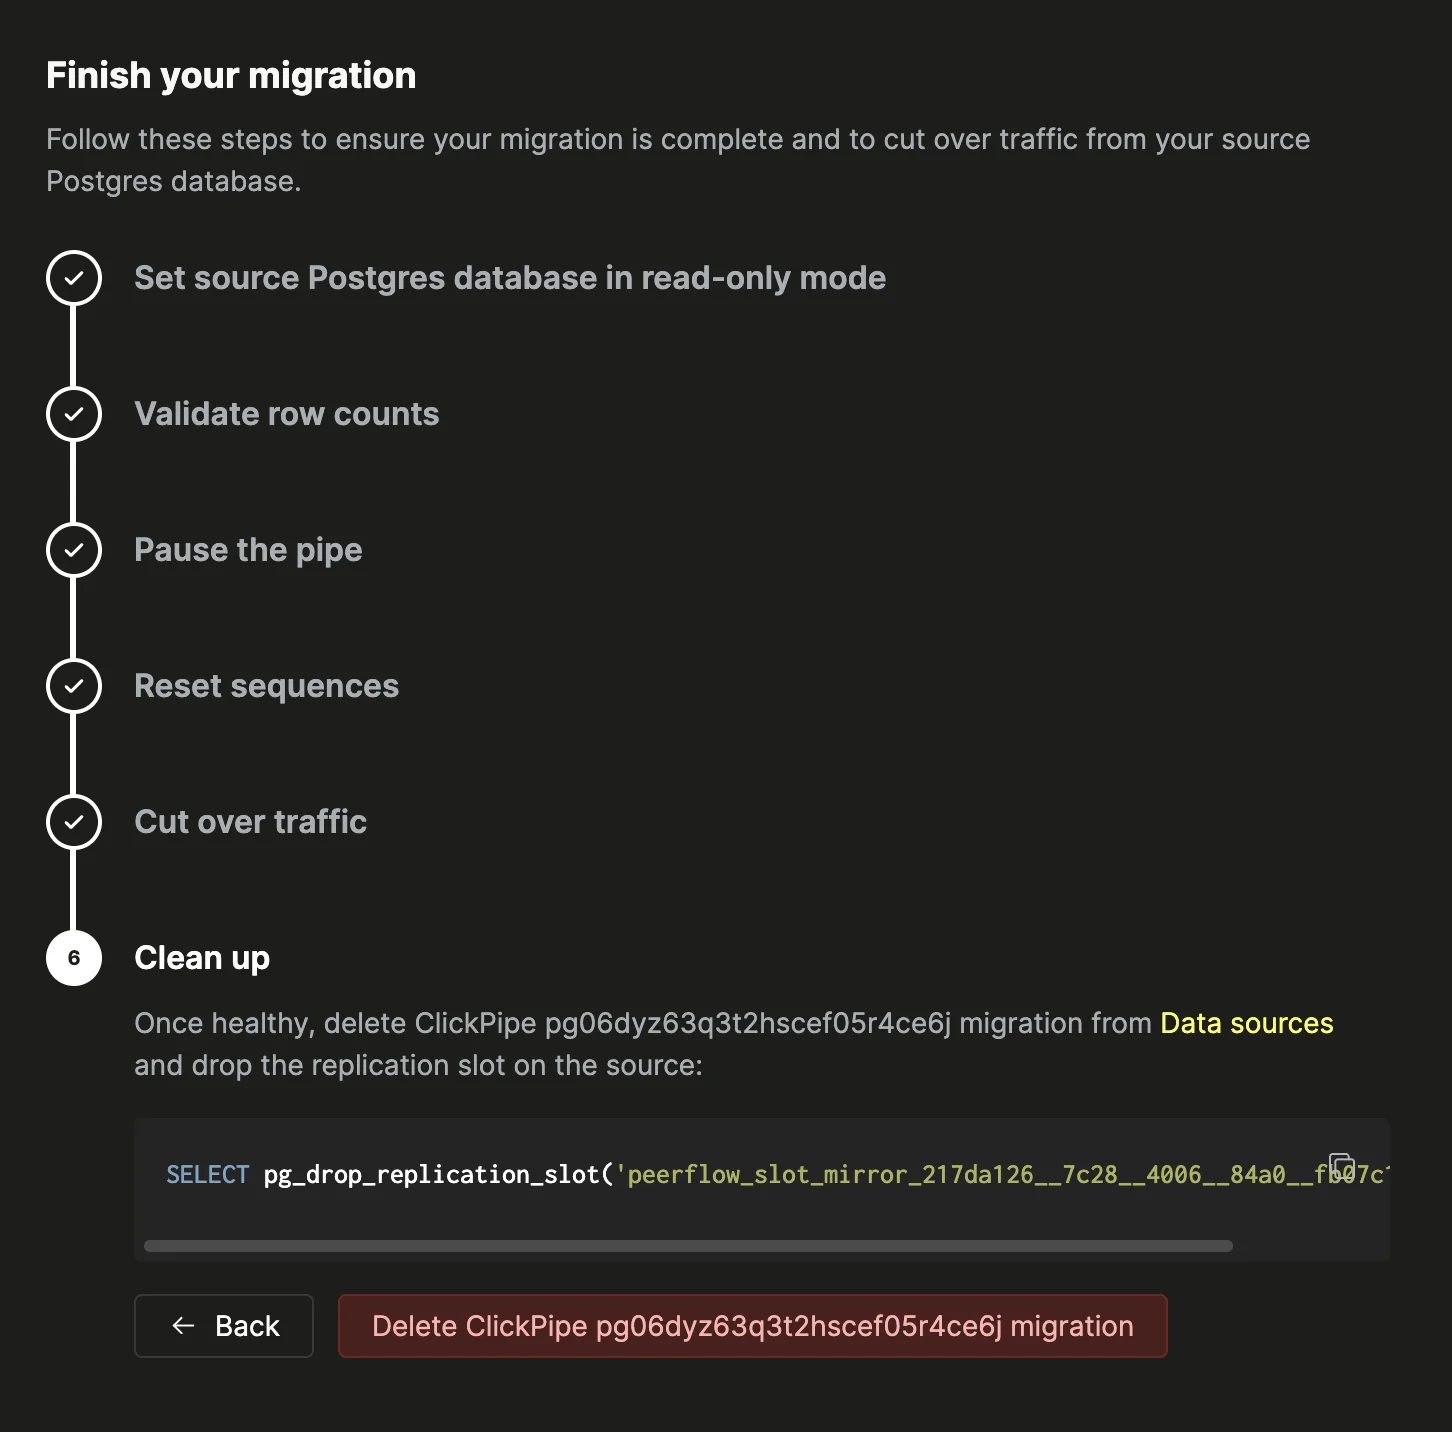
Step 6: Clean up
Once you’ve cut over and confirmed the new service is healthy, delete the migration and free source resources. The wizard shows a pg_drop_replication_slot command pre-filled with the slot name — run it on the source to drop the replication slot:
SELECT pg_drop_replication_slot('<slot_name>');Then click Delete ClickPipe migration to remove the migration from Data sources.