

 Set up docs MCP
The Helm chart for ClickStack can be found here and is the recommended method for production deployments.
The v2.x chart uses a two-phase installation. Operators and CRDs are installed first via the clickstack-operators chart, followed by the main clickstack chart which creates operator-managed custom resources for ClickHouse, MongoDB, and the OpenTelemetry Collector.
By default, the Helm chart provisions all core components, including:
- ClickHouse — managed by the ClickHouse Operator via
ClickHouseClusterandKeeperClustercustom resources - HyperDX — the observability UI and API
- OpenTelemetry (OTel) collector — deployed via the official OpenTelemetry Collector Helm chart as a subchart
- MongoDB — managed by the MongoDB Kubernetes Operator (MCK) via a
MongoDBCommunitycustom resource
However, it can be easily customized to integrate with an existing ClickHouse deployment — for example, one hosted in ClickHouse Cloud.
The chart supports standard Kubernetes best practices, including:
- Environment-specific configuration via
values.yaml - Resource limits and pod-level scaling
- TLS and ingress configuration
- Secrets management and authentication setup
- Additional manifests for deploying arbitrary Kubernetes objects (NetworkPolicy, HPA, ALB Ingress, etc.) alongside the chart
Suitable for
- Proof of concepts
- Production
Deployment steps
Prerequisites
- Helm v3+
- Kubernetes cluster (v1.20+ recommended)
kubectlconfigured to interact with your cluster
Add the ClickStack Helm repository
Add the ClickStack Helm repository:
helm repo add clickstack https://clickhouse.github.io/ClickStack-helm-charts
helm repo update
Install the operators
Install the operator chart first. This registers the CRDs required by the main chart:
helm install clickstack-operators clickstack/clickstack-operatorsWait for the operator pods to become ready before proceeding:
kubectl get pods -l app.kubernetes.io/instance=clickstack-operatorsInstall ClickStack
Once the operators are running, install the main chart:
helm install my-clickstack clickstack/clickstackVerify the installation
Verify the installation:
kubectl get pods -l "app.kubernetes.io/name=clickstack"When all pods are ready, proceed.
Forward ports
Port forwarding allows us to access and set up HyperDX. Users deploying to production should instead expose the service via an ingress or load balancer to ensure proper network access, TLS termination, and scalability. Port forwarding is best suited for local development or one-off administrative tasks, not long-term or high-availability environments.
kubectl port-forward \
  pod/$(kubectl get pod -l app.kubernetes.io/name=clickstack -o jsonpath='{.items[0].metadata.name}') \
8080:3000Navigate to the UI
Visit http://localhost:8080 to access the HyperDX UI.
Create a user, providing a username and password which meets the requirements.
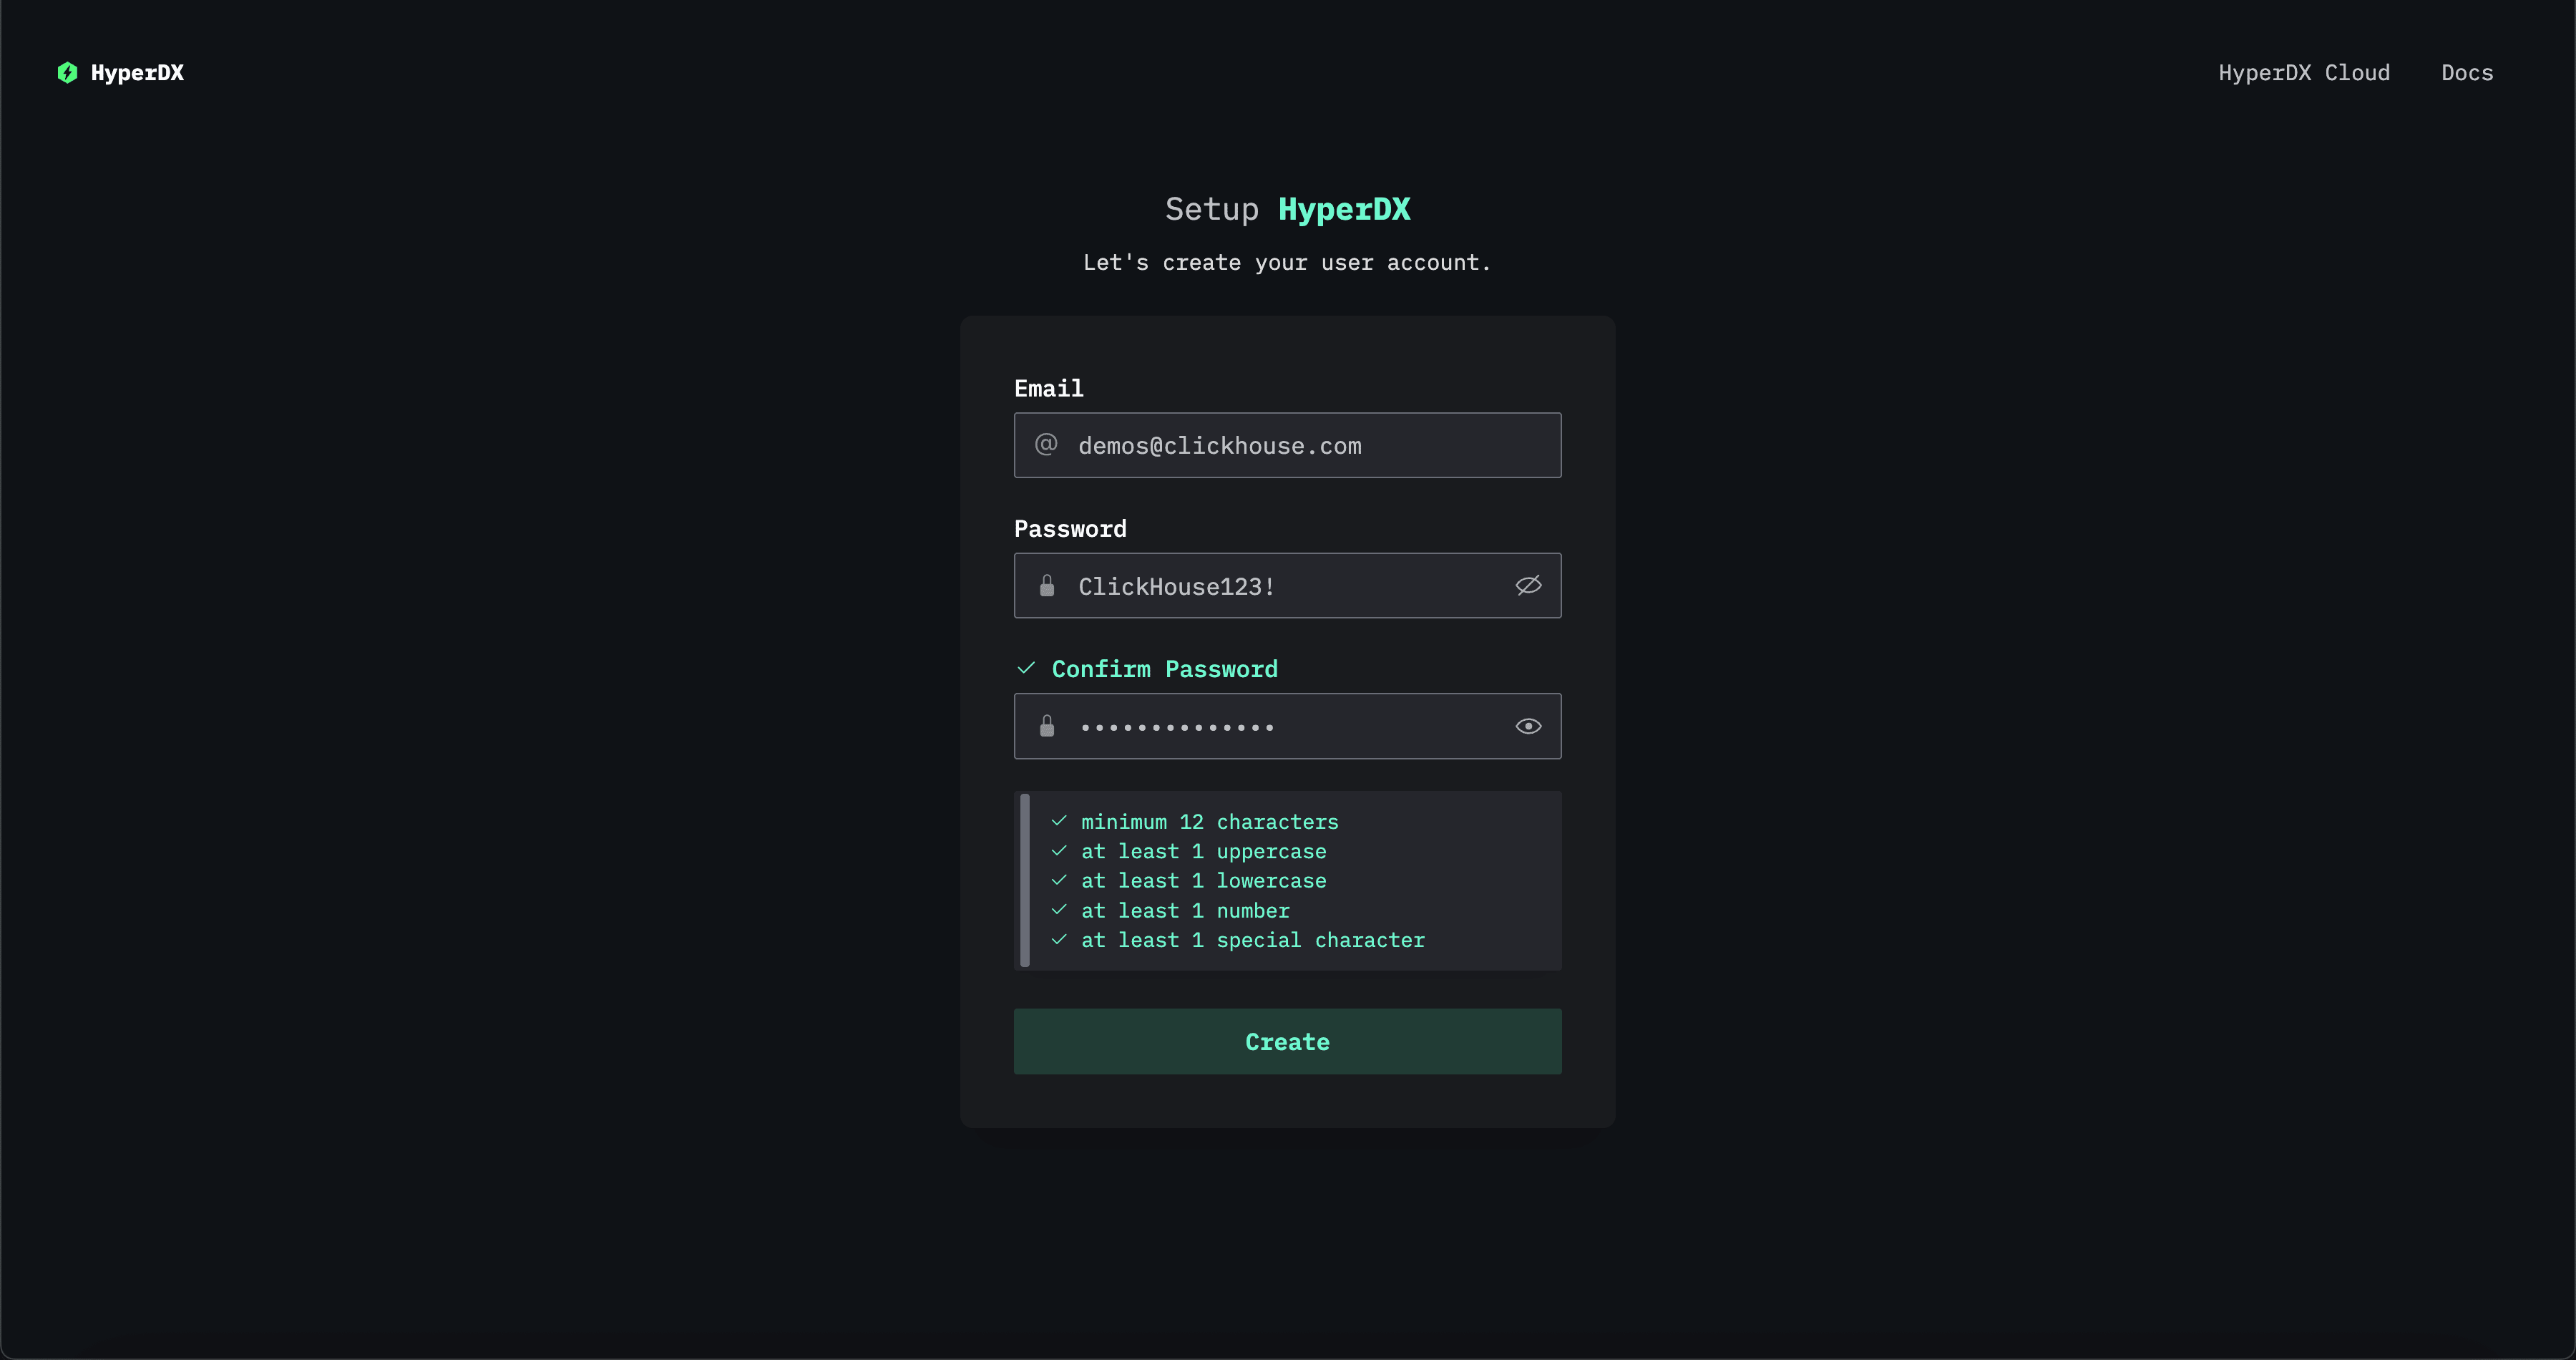
On clicking Create, data sources will be created for the ClickHouse instance deployed with the Helm chart.
Customizing values (optional)
You can customize settings by using --set flags. For example:
helm install my-clickstack clickstack/clickstack --set key=valueAlternatively, edit the values.yaml. To retrieve the default values:
helm show values clickstack/clickstack > values.yamlExample config:
hyperdx:
  frontendUrl: "https://hyperdx.example.com"

  deployment:
    replicas: 2
    resources:
      limits:
        cpu: "2"
        memory: 4Gi
      requests:
        cpu: 500m
        memory: 1Gi

  ingress:
    enabled: true
    host: hyperdx.example.com
    tls:
      enabled: true
      tlsSecretName: "hyperdx-tls"
helm install my-clickstack clickstack/clickstack -f values.yamlUsing secrets (optional)
The v2.x chart uses a unified secret (clickstack-secret) populated from hyperdx.secrets in your values. All sensitive environment variables — including ClickHouse passwords, MongoDB passwords, and the HyperDX API key — flow through this single secret.
To override secret values:
hyperdx:
  secrets:
    HYPERDX_API_KEY: "your-api-key"
    CLICKHOUSE_PASSWORD: "your-clickhouse-password"
    CLICKHOUSE_APP_PASSWORD: "your-app-password"
    MONGODB_PASSWORD: "your-mongodb-password"
For external secret management (e.g. using a secrets operator), you can reference a pre-existing Kubernetes secret:
hyperdx:
  useExistingConfigSecret: true
  existingConfigSecret: "my-external-secret"
  existingConfigConnectionsKey: "connections.json"
existingConfigSourcesKey: "sources.json"Using ClickHouse Cloud
If using ClickHouse Cloud, disable the built-in ClickHouse instance and provide your Cloud credentials:
# values-clickhouse-cloud.yaml
clickhouse:
  enabled: false

hyperdx:
  secrets:
    CLICKHOUSE_PASSWORD: "your-cloud-password"
    CLICKHOUSE_APP_PASSWORD: "your-cloud-password"

  useExistingConfigSecret: true
  existingConfigSecret: "clickhouse-cloud-config"
  existingConfigConnectionsKey: "connections.json"
  existingConfigSourcesKey: "sources.json"
Create the connection secret separately:
cat <<EOF > connections.json
[
  {
    "name": "ClickHouse Cloud",
    "host": "https://your-cloud-instance.clickhouse.cloud",
    "port": 8443,
    "username": "default",
    "password": "your-cloud-password"
  }
]
EOF

kubectl create secret generic clickhouse-cloud-config \
  --from-file=connections.json=connections.json

rm connections.json
helm install my-clickstack clickstack/clickstack -f values-clickhouse-cloud.yamlProduction notes
By default, this chart installs ClickHouse, MongoDB, and the OTel collector. For production, it is recommended that you manage ClickHouse and the OTel collector separately.
To disable ClickHouse and the OTel collector:
clickhouse:
  enabled: false

otel-collector:
enabled: falseTask configuration
By default, there is one task in the chart setup as a cronjob, responsible for checking whether alerts should fire. In v2.x, task configuration has moved under hyperdx.tasks:
| Parameter | Description | Default |
|---|---|---|
hyperdx.tasks.enabled |
Enable/Disable cron tasks in the cluster. By default, the HyperDX image will run cron tasks in the process. Change to true if you’d rather use a separate cron task in the cluster. | false |
hyperdx.tasks.checkAlerts.schedule |
Cron schedule for the check-alerts task | */1 * * * * |
hyperdx.tasks.checkAlerts.resources |
Resource requests and limits for the check-alerts task | See values.yaml |
Upgrading the chart
To upgrade to a newer version:
helm upgrade my-clickstack clickstack/clickstack -f values.yamlTo check available chart versions:
helm search repo clickstackUninstalling ClickStack
Uninstall in reverse order:
helm uninstall my-clickstack            # Remove app + CRs first
helm uninstall clickstack-operators     # Remove operators + CRDs
Note: PersistentVolumeClaims created by the MongoDB and ClickHouse operators are not removed by helm uninstall. This is by design to prevent accidental data loss. To clean up PVCs, refer to:
Troubleshooting
Checking logs
kubectl logs -l app.kubernetes.io/name=clickstackDebugging a failed install
helm install my-clickstack clickstack/clickstack --debug --dry-runVerifying deployment
kubectl get pods -l app.kubernetes.io/name=clickstackSchema choice: Map vs JSON
ClickStack stores attributes as Map(LowCardinality(String), String) columns by default. This is the recommended schema for observability workloads. Combined with bucketed map serialization and text indexes on map keys and values, it provides selective lookups without the per-key ingest overhead of dynamic JSON subcolumns.
A JSON-typed schema is available in beta for evaluation on workloads with a small, stable attribute key-set. It is not recommended as the default. See Map vs JSON type for the full comparison and the env vars required to enable JSON support.
Related documentation
Deployment guides
- Deployment options - External ClickHouse, OTEL collector, and minimal deployments
- Configuration guide - API keys, secrets, and ingress setup
- Cloud deployments - GKE, EKS, AKS configurations and production best practices
- Upgrade guide - Migrating from v1.x to v2.x
- Additional manifests - Deploying custom Kubernetes objects alongside the chart
v1.x documentation
- Helm (v1.x) - v1.x deployment guide
- Configuration (v1.x) - v1.x configuration
- Deployment options (v1.x) - v1.x deployment options
- Cloud deployments (v1.x) - v1.x cloud configurations
Additional resources
- ClickStack getting started guide - Introduction to ClickStack
- ClickStack Helm charts repository - Chart source code and values reference
- Kubernetes documentation - Kubernetes reference
- Helm documentation - Helm reference